Iron rocks
This copy was last processed on . The copied wiki revision is dated .
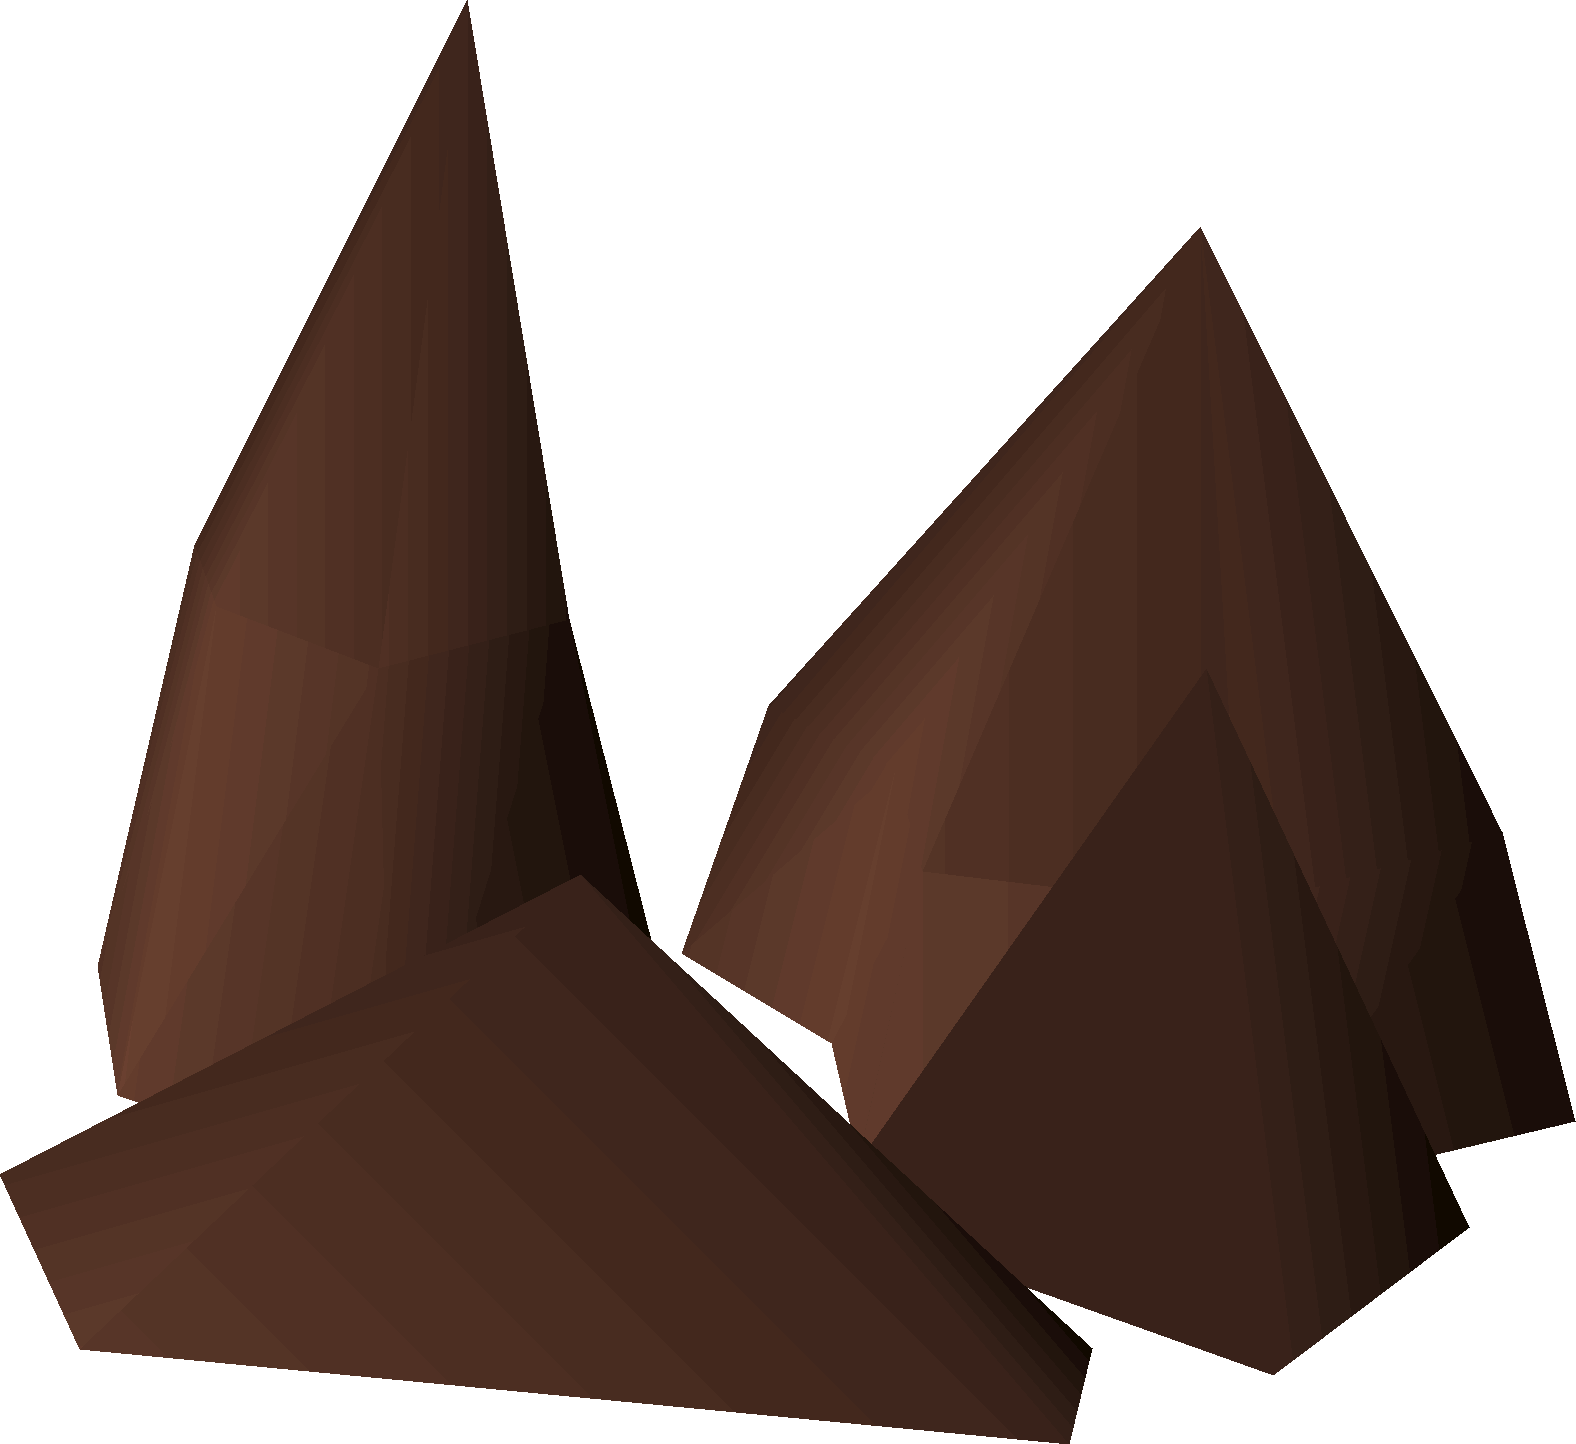
| Iron rocks | |||||||||||||||||||
|---|---|---|---|---|---|---|---|---|---|---|---|---|---|---|---|---|---|---|---|
| Released | 4 January 2001 (Update) | ||||||||||||||||||
| Members | No | ||||||||||||||||||
| Quest | No | ||||||||||||||||||
| Location | Varies | ||||||||||||||||||
| Map icon |  | ||||||||||||||||||
| Options | Mine | ||||||||||||||||||
| Examine | A rocky outcrop. | ||||||||||||||||||
| Advanced data | |||||||||||||||||||
| Object ID | 11365 | ||||||||||||||||||
| Link | MOID | ||||||||||||||||||

Iron rocks are a type of protruding rock that contains iron ore. Players with a Mining level of 15 or higher can mine iron ore from rocks found in various mines, granting 35 Mining experience for each ore mined. After being mined, an iron rock takes 5.4 seconds to respawn. When inside the members' area of the Mining Guild, that time is reduced to 2.4 seconds; the faster respawn time makes it the best place to power-mine iron, with an experience rate of up to 70k xp/h.
Iron is the most popular ore that free-to-play players power-mine for experience. For locations where there are three rocks in a triangle formation suitable for proper power-mining, see here.
Wearing mining gloves, superior mining gloves, or expert mining gloves makes the rock not deplete upon mining iron, allowing players to mine one, two, or three additional ore, respectively, before depleting.
The rocks in the Node mine provide iron ore, but no experience past level 3 Mining. As the rocks require level 15 to mine, it is impossible under standard conditions to receive experience.
Locations


Power-mining Locations
There are currently 21 locations that have three iron rocks in a triangle formation.
- Al Kharid mine - The only location available to free-to-play players.
- Cam Torum mine
- Custodia Mountains mine
- Deepfin Mine - Two locations: one near the entrance and another near a Bank chest (amenity)
- Isle of Souls mine - Accessible via Soul Wars minigame teleport or the Soul Wars portals at the Ferox Enclave or Edgeville.
- Legends' Guild mine
- Lovakengj mine
- Mining Guild - This is the preferred area to power-mine due to the iron rocks having a decreased respawn time. This mine has two spots with three iron rocks close together.
- Mor Ul Rek south mine
- Mount Karuulm mine
- Pandemonium Cave - near bank chest
- Piscatoris mine
- Salvager Overlook east mine
- Sisterhood Sanctuary mine
- Stonecutter Outpost
- The Stranglewood mine
- Tlati Rainforest south-west mine - Next to Gemstone Crab Spawn
- Trahaearn mine
- Verdant Valley
- Vampyrium - Two locations nearby
- Wilderness Resource Area
Banking
Iron ore rocks that are close to a bank include:
- East Varrock Mine - Bank at East Varrock Bank.
- Rimmington Mine - Bank at the Port Sarim deposit box a short distance East
- Dorgesh-Kaan Mine - Bank at the Culinaromancer's Chest, which requires doing the first subquest of Recipe for Disaster, and The Lost Tribe is required to gain access to the mine. Also, a light source, such as a Mining helmet, is needed. For best results, do the following:
- Talk to Kazgar and have him take you to the mines.
- Mine until your inventory is full of ore.
- Go to Mistag and have him show you out of the mines.
- Go into the Lumbridge Castle basement through the hole and bank at the Culinaromancer's Chest if Recipe for Disaster is partially completed, or bank at the Lumbridge Castle bank on the top floor if not.
- Deposit all the ore and then go back to the mines and repeat.
- Iron ore rocks at the Fight Arena Mine near Port Khazard - Bank at the Port Khazard deposit box or at Yanille.
- The Piscatoris Fishing Colony Mine - Bank inside the colony and must have completed Swan Song.
- The Legends' Guild mine between East Ardougne and the Legends' Guild - Bank at Ardougne South Bank. Beware of aggressive grizzly bears.
- Right outside of the Mining Guild in Dwarven Mine - Bank at East Falador Bank or Bank chest at Motherlode Mine.
- The iron ore rocks south of East Ardougne at South Ardougne Mine - Bank at Ardougne South Bank, or use an Ardougne cloak and Amulet of glory to get to the mine and bank at Edgeville.
- The West Falador Mine - Bank at West Falador Bank. Also, level 5 Agility is needed to negotiate the shortcut.
- For the daring and adventurous, the Steel Mine in the level 6 Wilderness north of Edgeville also offers a few iron ore rocks.
- The Mining Guild Members Area - Inside the Mining Guild there are two spots that have three iron rocks close together. - Bank in the Mining Guild Members Area
Money making
The following money making guide is available for Iron rocks:
| Method | Hourly profit | Skills |
|---|---|---|
| Mining iron ore | 152,511 |
 15+ (60+ for access to the Mining Guild) 15+ (60+ for access to the Mining Guild) |
Mining info
| Iron rocks | |||||||||
|---|---|---|---|---|---|---|---|---|---|
| Level required | 15 | ||||||||
| Mining XP | 35 xp | ||||||||
| Required tool | Pickaxe | ||||||||
| Respawn time | 5.4 seconds | ||||||||
Rocks deplete and produce iron on every successful mining attempt, though more can be gained using special equipment.
| Item | Quantity | Rarity | Price | High Alch | |
|---|---|---|---|---|---|
 | Iron ore | 1 | Always | 76 | 10 |
The probability to succeed on a given mining attempt scales with Mining level according to the figure below.[1]
{"type":"scatter","options":{"tooltips":{"intersect":false,"format":"skillingSuccess"},"datasetsPerGroup":3,"aspectRatio":1.35,"title":{"display":true,"font":{"size":18},"text":"Iron rocks mining chance","position":"top"},"scales":{"y":{"ticks":{"stepSize":0.1,"format":"percent"},"scaleLabel":{"display":true,"labelString":"Success rate"}},"x":{"ticks":{"stepSize":1},"scaleLabel":{"display":true,"labelString":"Level"}}},"maintainAspectRatio":false,"fill":false},"minWidth":"300px","resizable":true,"width":"min(540px, 100vw - 32px)","isChartObj":true,"height":"400px","isFinished":true,"minHeight":"300px","data":{"datasets":[{"fill":false,"borderCapStyle":"round","label":"Iron rocks ","showLine":true,"data":[{"y":0.51953125,"x":15}],"pointStyleImg":"Iron ore.png","hoverBackgroundColor":"rgba(151,198,222,0.5)","backgroundColor":"rgba(166,206,227,0.3)","borderDash":[5,5],"borderColor":"rgba(166,206,227,1)","hoverBorderColor":"rgba(151,198,222,1)","pointRadius":0,"clip":5,"baseColor":"brown"},{"pointRadius":0,"label":"Iron rocks ","showLine":true,"data":[{"y":0.51953125,"x":15},{"y":0.53125,"x":16},{"y":0.5390625,"x":17},{"y":0.55078125,"x":18},{"y":0.5625,"x":19},{"y":0.5703125,"x":20},{"y":0.58203125,"x":21},{"y":0.58984375,"x":22},{"y":0.6015625,"x":23},{"y":0.61328125,"x":24},{"y":0.62109375,"x":25},{"y":0.6328125,"x":26},{"y":0.640625,"x":27},{"y":0.65234375,"x":28},{"y":0.6640625,"x":29},{"y":0.671875,"x":30},{"y":0.68359375,"x":31},{"y":0.69140625,"x":32},{"y":0.703125,"x":33},{"y":0.71484375,"x":34},{"y":0.72265625,"x":35},{"y":0.734375,"x":36},{"y":0.7421875,"x":37},{"y":0.75390625,"x":38},{"y":0.76171875,"x":39},{"y":0.7734375,"x":40},{"y":0.78515625,"x":41},{"y":0.79296875,"x":42},{"y":0.8046875,"x":43},{"y":0.8125,"x":44},{"y":0.82421875,"x":45},{"y":0.8359375,"x":46},{"y":0.84375,"x":47},{"y":0.85546875,"x":48},{"y":0.86328125,"x":49},{"y":0.875,"x":50},{"y":0.88671875,"x":51},{"y":0.89453125,"x":52},{"y":0.90625,"x":53},{"y":0.9140625,"x":54},{"y":0.92578125,"x":55},{"y":0.9375,"x":56},{"y":0.9453125,"x":57},{"y":0.95703125,"x":58},{"y":0.96484375,"x":59},{"y":0.9765625,"x":60},{"y":0.98828125,"x":61},{"y":0.99609375,"x":62},{"y":1,"x":63}],"fill":false,"hoverBackgroundColor":"rgba(29,114,171,0.5)","backgroundColor":"rgba(31,120,180,0.3)","borderDash":[],"borderColor":"rgba(31,120,180,1)","hoverBorderColor":"rgba(29,114,171,1)","borderCapStyle":"round","clip":5,"baseColor":"brown"},{"borderCapStyle":"round","hoverBorderColor":"rgba(169,219,124,1)","showLine":true,"data":[{"y":1,"x":63}],"fill":false,"hoverBackgroundColor":"rgba(169,219,124,0.5)","borderDash":[],"borderColor":"rgba(178,223,138,1)","backgroundColor":"rgba(178,223,138,0.3)","pointRadius":5,"clip":5,"baseColor":"brown"}]}}Pre-roll
The mining gem drop table has a 1/256 chance to roll on every mining attempt;[2] if the player is wearing a charged amulet of glory, amulet of glory (t), or amulet of eternal glory, the probability increases to 1/64.2.[3][4] If the table successfully rolls, the player may receive an uncut gem or nothing, and in either case can not receive an ore.[5] This neither depletes the rock nor grants Mining experience. The rates shown are for every mining attempt.
| Item | Quantity | Rarity | Price | High Alch | |
|---|---|---|---|---|---|
 | Nothing | N/A | 70/32,768; 70/8,216[d 1] | N/A | N/A |
 | Uncut sapphire | 1 | 32/32,768; 32/8,216[d 1] | 228 | 15 |
 | Uncut emerald | 1 | 16/32,768; 16/8,216[d 1] | 473 | 30 |
 | Uncut ruby | 1 | 8/32,768; 8/8,216[d 1] | 1,087 | 60 |
 | Uncut diamond | 1 | 2/32,768; 2/8,216[d 1] | 2,439 | 120 |
Tertiary
The following items can drop together with the main resource. The rates shown are for a successful mining attempt.
| Item | Quantity | Rarity | Price | High Alch | |
|---|---|---|---|---|---|
 | Crystal shard | 1 | 1/65[6][d 1] | Not sold | N/A |
 | Unidentified minerals | 1 | 1/100[7][d 2] | Not sold | 30 |
 | Clue geode (beginner) | 1 | 1/902–1/521[d 3] | Not sold | N/A |
 | Loop half of key (moon key) | 1 | 1/4,944[d 4] | Not sold | N/A |
 | Clue geode (easy) | 1 | 1/7,673–1/4,212[d 3] | Not sold | N/A |
 | Clue geode (medium) | 1 | 1/9,028–1/4,956[d 3] | Not sold | N/A |
 | Clue geode (hard) | 1 | 1/14,896–1/8,178[d 3] | Not sold | N/A |
 | Clue geode (elite) | 1 | 1/45,140–1/24,782[d 3] | Not sold | N/A |
 | Rock golem | 1 | 1/741,225–1/739,125[d 5] | Not sold | N/A |
- ^ Crystal shards are only dropped in Prifddinas.
- ^ Unidentified minerals are only dropped in the Mining Guild.
- ^ 3.0 3.1 3.2 3.3 3.4 The drop rate increases with Mining level; see Clue geode § Rates for more details.
- ^ Key halves are only dropped in Varlamore.
- ^ The drop rate increases with Mining level; see the pet calculator for more details.
Equipment
Varrock armour 1, 2, 3, and and 4 give a 10% chance to receive an extra ore.
Mining gloves allow one additional ore to be mined before the rocks deplete.
Superior mining gloves allow two additional ores to be mined before the rocks deplete.
Expert mining gloves allow three additional ores to be mined before the rocks deplete.
Celestial rings and signets provide an invisible +4 boost to Mining level, regardless of charges. When charged with stardust, they also give a 10% chance to receive an extra ore.
Prospector kit boosts Mining experience by 2.5%.
Amulet of glory increases the chance of obtaining gems when charged.
Mining capes give a 5% chance to receive an extra ore.
- Varrock armour, celestial rings, and Mining capes roll independently; multiple bonus resources can be given.
Changes
| Date | Changes |
|---|---|
| 20 March 2024 (Update) |
Map icon for main 2 rock variants changed from |
| 15 March 2023 (Update | poll) |
|
| 21 January 2016 (Update | poll) |
The object was graphically updated |
See also
References
| Mining rocks and sources | |||||||
|---|---|---|---|---|---|---|---|
| Ores | |||||||
| Fragments | |||||||
| Salts | |||||||
| Gems | |||||||
| Other mineables |
| ||||||
| Pickaxes | |||||||
| Mining enhancers |
| ||||||
| Historical | |||||||


.png)
.png)