Blurite rocks
This copy was last processed on . The copied wiki revision is dated .
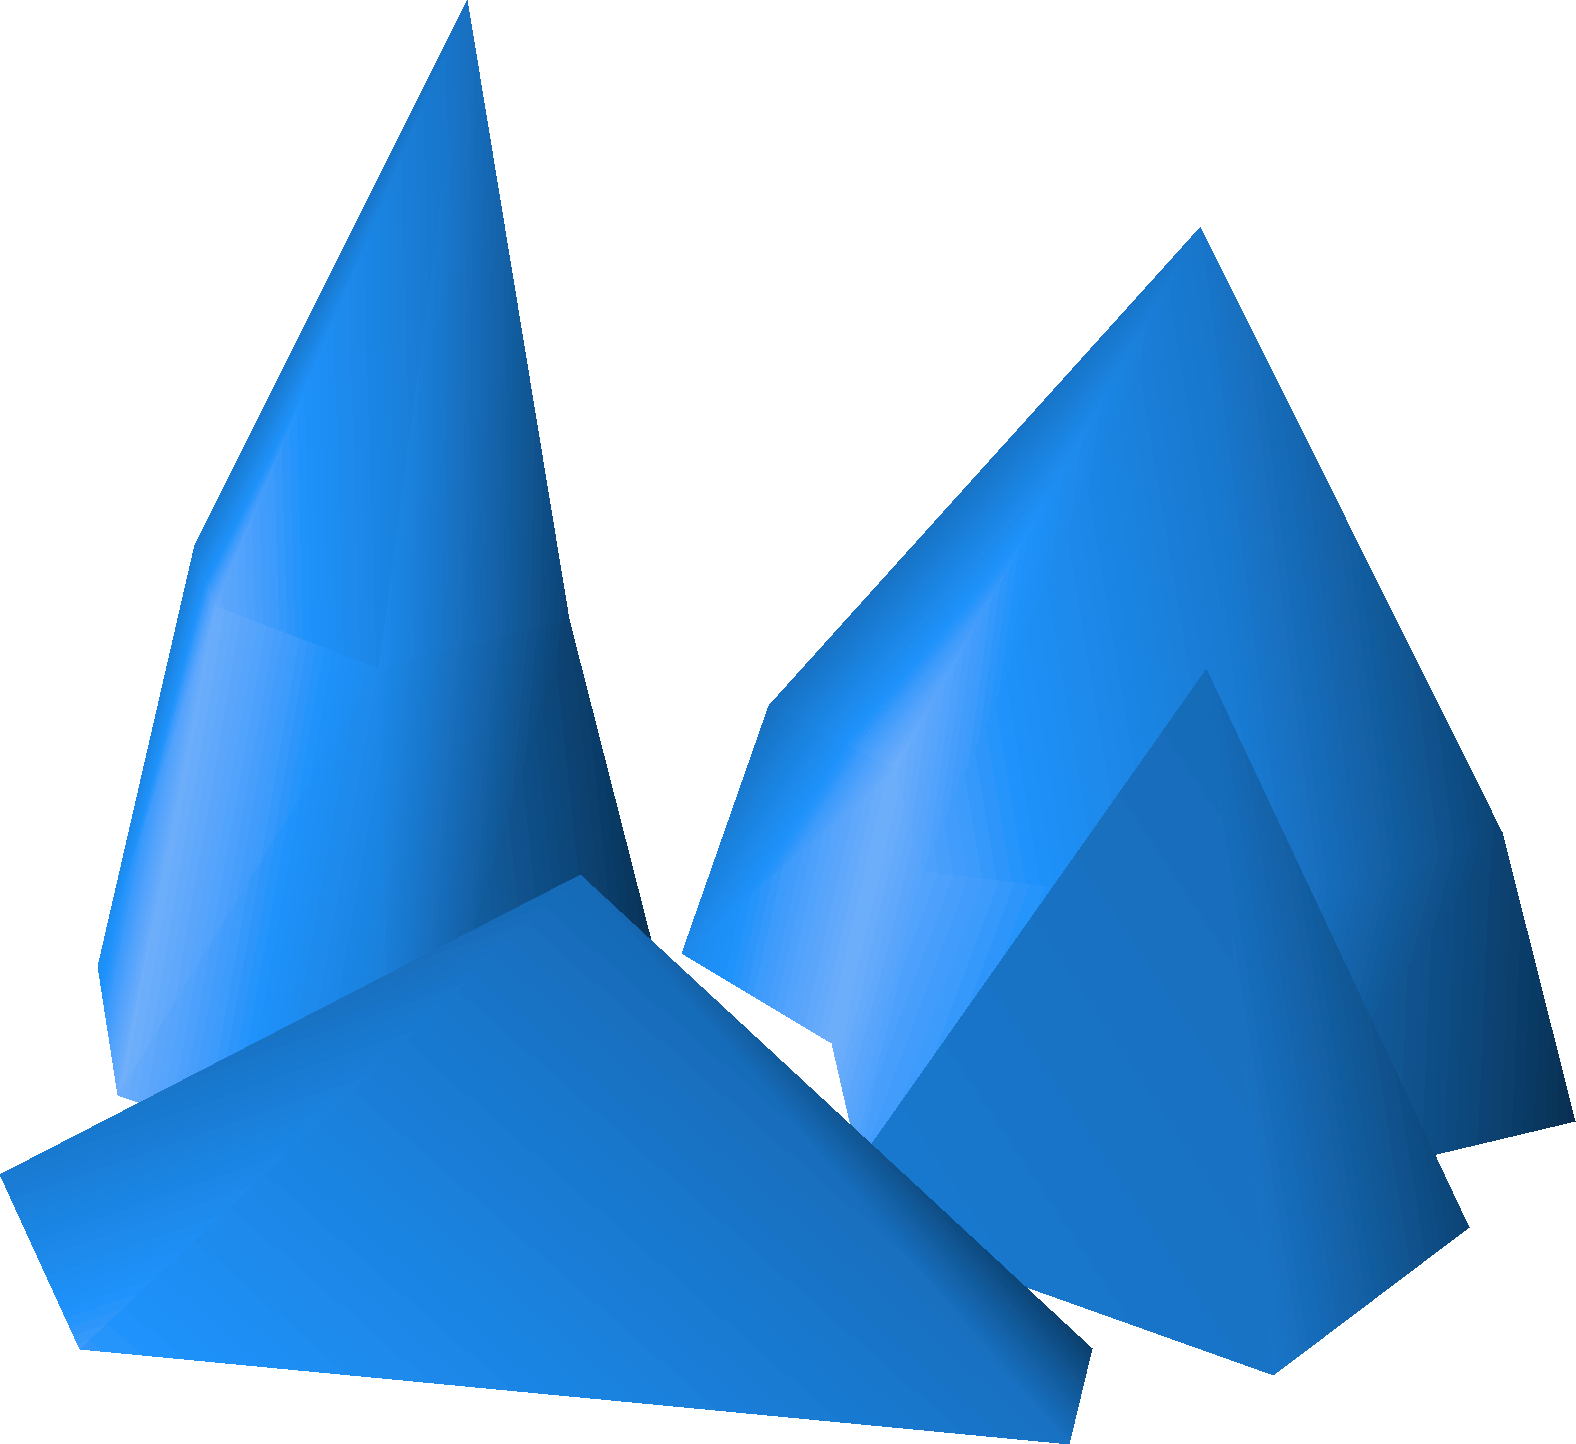
| Blurite rocks | |||||||||||||||||||
|---|---|---|---|---|---|---|---|---|---|---|---|---|---|---|---|---|---|---|---|
| Released | 6 April 2001 (Update) | ||||||||||||||||||
| Members | No | ||||||||||||||||||
| Quest | The Knight's Sword | ||||||||||||||||||
| Location | Asgarnian Ice Dungeon | ||||||||||||||||||
| Map icon |  | ||||||||||||||||||
| Options | Mine | ||||||||||||||||||
| Examine | A rocky outcrop. | ||||||||||||||||||
| Advanced data | |||||||||||||||||||
| Object ID | 11379 | ||||||||||||||||||
| Link | MOID | ||||||||||||||||||
Blurite rock is a rock that, when mined, gives blurite ore, which can be used in the making of the hilt of the blurite sword in The Knight's Sword quest and in crossbows and bolts. It can be mined by a player with level 10 Mining. Blurite rocks can only be found in the Asgarnian Ice Dungeon mine in the Asgarnian Ice Dungeon, located south of Port Sarim on the tip of the Asgarnian Peninsula.
Low-level players should take caution before entering the caves due to the presence of Ice warriors and Ice giants. However, there is a safespot. Situated right in front of the blurite ore is a single stalagmite. You can mine one of the rocks from directly behind it and trap all attackers on the other side. To get the other rock, you may run around, mine it, and situate yourself back in the safespot.
Locations
| Location | Members | Spawns | Map | League region |
|---|---|---|---|---|
| Asgarnian Ice Dungeon |  | 4 | Show map |  Asgarnia✓ Asgarnia✓ |
Mining info
| Blurite rocks | |||||||||
|---|---|---|---|---|---|---|---|---|---|
| Level required |  10 10 | ||||||||
| Mining XP | 17.5 xp | ||||||||
| Required tool | Pickaxe | ||||||||
| Respawn time | 25 seconds | ||||||||
Rocks deplete and produce one blurite ore on every successful mining attempt, though more ore can be gained using special equipment.
| Item | Quantity | Rarity | Price | High Alch | |
|---|---|---|---|---|---|
 | Blurite ore | 1 | Always | Not sold | 1 |
The probability to succeed on a given mining attempt scales with Mining level according to the figure below.
{"type":"scatter","options":{"tooltips":{"intersect":false,"format":"skillingSuccess"},"datasetsPerGroup":3,"aspectRatio":1.35,"title":{"display":true,"font":{"size":18},"text":"Blurite rocks mining chance","position":"top"},"scales":{"y":{"ticks":{"stepSize":0.1,"format":"percent"},"scaleLabel":{"display":true,"labelString":"Success rate"}},"x":{"ticks":{"stepSize":1},"scaleLabel":{"display":true,"labelString":"Level"}}},"maintainAspectRatio":false,"fill":false},"minWidth":"300px","resizable":true,"width":"min(540px, 100vw - 32px)","isChartObj":true,"height":"400px","isFinished":true,"minHeight":"300px","data":{"datasets":[{"fill":false,"borderCapStyle":"round","label":"Blurite rocks ","showLine":true,"data":[{"y":0.44921875,"x":10}],"pointStyleImg":"Blurite ore.png","hoverBackgroundColor":"rgba(151,198,222,0.5)","backgroundColor":"rgba(166,206,227,0.3)","borderDash":[5,5],"borderColor":"rgba(166,206,227,1)","hoverBorderColor":"rgba(151,198,222,1)","pointRadius":0,"clip":5,"baseColor":"#489ffb"},{"pointRadius":0,"label":"Blurite rocks ","showLine":true,"data":[{"y":0.44921875,"x":10},{"y":0.4609375,"x":11},{"y":0.46875,"x":12},{"y":0.48046875,"x":13},{"y":0.48828125,"x":14},{"y":0.5,"x":15},{"y":0.51171875,"x":16},{"y":0.51953125,"x":17},{"y":0.53125,"x":18},{"y":0.54296875,"x":19},{"y":0.55078125,"x":20},{"y":0.5625,"x":21},{"y":0.57421875,"x":22},{"y":0.58203125,"x":23},{"y":0.59375,"x":24},{"y":0.60546875,"x":25},{"y":0.61328125,"x":26},{"y":0.625,"x":27},{"y":0.63671875,"x":28},{"y":0.64453125,"x":29},{"y":0.65625,"x":30},{"y":0.66796875,"x":31},{"y":0.67578125,"x":32},{"y":0.6875,"x":33},{"y":0.69921875,"x":34},{"y":0.70703125,"x":35},{"y":0.71875,"x":36},{"y":0.73046875,"x":37},{"y":0.73828125,"x":38},{"y":0.75,"x":39},{"y":0.7578125,"x":40},{"y":0.76953125,"x":41},{"y":0.78125,"x":42},{"y":0.7890625,"x":43},{"y":0.80078125,"x":44},{"y":0.8125,"x":45},{"y":0.8203125,"x":46},{"y":0.83203125,"x":47},{"y":0.84375,"x":48},{"y":0.8515625,"x":49},{"y":0.86328125,"x":50},{"y":0.875,"x":51},{"y":0.8828125,"x":52},{"y":0.89453125,"x":53},{"y":0.90625,"x":54},{"y":0.9140625,"x":55},{"y":0.92578125,"x":56},{"y":0.9375,"x":57},{"y":0.9453125,"x":58},{"y":0.95703125,"x":59},{"y":0.96875,"x":60},{"y":0.9765625,"x":61},{"y":0.98828125,"x":62},{"y":0.99609375,"x":63},{"y":1,"x":64}],"fill":false,"hoverBackgroundColor":"rgba(29,114,171,0.5)","backgroundColor":"rgba(31,120,180,0.3)","borderDash":[],"borderColor":"rgba(31,120,180,1)","hoverBorderColor":"rgba(29,114,171,1)","borderCapStyle":"round","clip":5,"baseColor":"#489ffb"},{"borderCapStyle":"round","hoverBorderColor":"rgba(169,219,124,1)","showLine":true,"data":[{"y":1,"x":64}],"fill":false,"hoverBackgroundColor":"rgba(169,219,124,0.5)","borderDash":[],"borderColor":"rgba(178,223,138,1)","backgroundColor":"rgba(178,223,138,0.3)","pointRadius":5,"clip":5,"baseColor":"#489ffb"}]}}Pre-roll
The mining gem drop table has a 1/256 chance to roll on every mining attempt;[1] if the player is wearing a charged amulet of glory, amulet of glory (t), or amulet of eternal glory, the probability increases to 1/64.2.[2][3] If the table successfully rolls, the player may receive an uncut gem or nothing, and in either case can not receive an ore.[4] This neither depletes the rock nor grants Mining experience. The rates shown are for every mining attempt.
| Item | Quantity | Rarity | Price | High Alch | |
|---|---|---|---|---|---|
 | Nothing | N/A | 70/32,768; 70/8,216[d 1] | N/A | N/A |
 | Uncut sapphire | 1 | 32/32,768; 32/8,216[d 1] | 228 | 15 |
 | Uncut emerald | 1 | 16/32,768; 16/8,216[d 1] | 473 | 30 |
 | Uncut ruby | 1 | 8/32,768; 8/8,216[d 1] | 1,087 | 60 |
 | Uncut diamond | 1 | 2/32,768; 2/8,216[d 1] | 2,439 | 120 |
Tertiary
The following items can drop together with the main resource. The rates shown are for a successful mining attempt.
| Item | Quantity | Rarity | Price | High Alch | |
|---|---|---|---|---|---|
 | Clue geode (beginner) | 1 | 1/943–1/521[d 1] | Not sold | N/A |
 | Clue geode (easy) | 1 | 1/8,022–1/4,212[d 1] | Not sold | N/A |
 | Clue geode (medium) | 1 | 1/9,438–1/4,956[d 1] | Not sold | N/A |
 | Clue geode (hard) | 1 | 1/15,573–1/8,178[d 1] | Not sold | N/A |
 | Clue geode (elite) | 1 | 1/47,192–1/24,782[d 1] | Not sold | N/A |
 | Rock golem | 1 | 1/741,350–1/739,125[d 2] | Not sold | N/A |
- ^ 1.0 1.1 1.2 1.3 1.4 The drop rate increases with Mining level; see Clue geode § Rates for more details.
- ^ The drop rate increases with Mining level; see the pet calculator for more details.
Equipment
Varrock armour 1, 2, 3, and and 4 give a 10% chance to receive an extra ore.
Celestial rings and signets provide an invisible +4 boost to Mining level, regardless of charges. When charged with stardust, they also give a 10% chance to receive an extra ore.
Prospector kit boosts Mining experience by 2.5%.
Amulet of glory increases the chance of obtaining gems when charged.
Mining capes give a 5% chance to receive an extra ore.
- Varrock armour, celestial rings, and Mining capes roll independently; multiple bonus resources can be given.
- Mining gloves and all their variants have no effect.
Changes
| Date | Changes |
|---|---|
| 20 March 2024 (Update) |
Map icon changed from |
| 15 March 2023 (Update | poll) |
|
| 7 December 2022 (Update | poll) |
The random tick delay after mining blurite has been removed. |
| 21 January 2016 (Update | poll) |
The object was graphically updated |

References
| Mining and Smithing | |
|---|---|
| Crossbow | |
| Bolts | |
| Other | |


| Mining rocks and sources | |||||||
|---|---|---|---|---|---|---|---|
| Ores | |||||||
| Fragments | |||||||
| Salts | |||||||
| Gems | |||||||
| Other mineables |
| ||||||
| Pickaxes | |||||||
| Mining enhancers |
| ||||||
| Historical | |||||||


.png)
| NPCs | |
|---|---|
| Monsters | |
| Related | |