Gold rocks
This copy was last processed on . The copied wiki revision is dated .
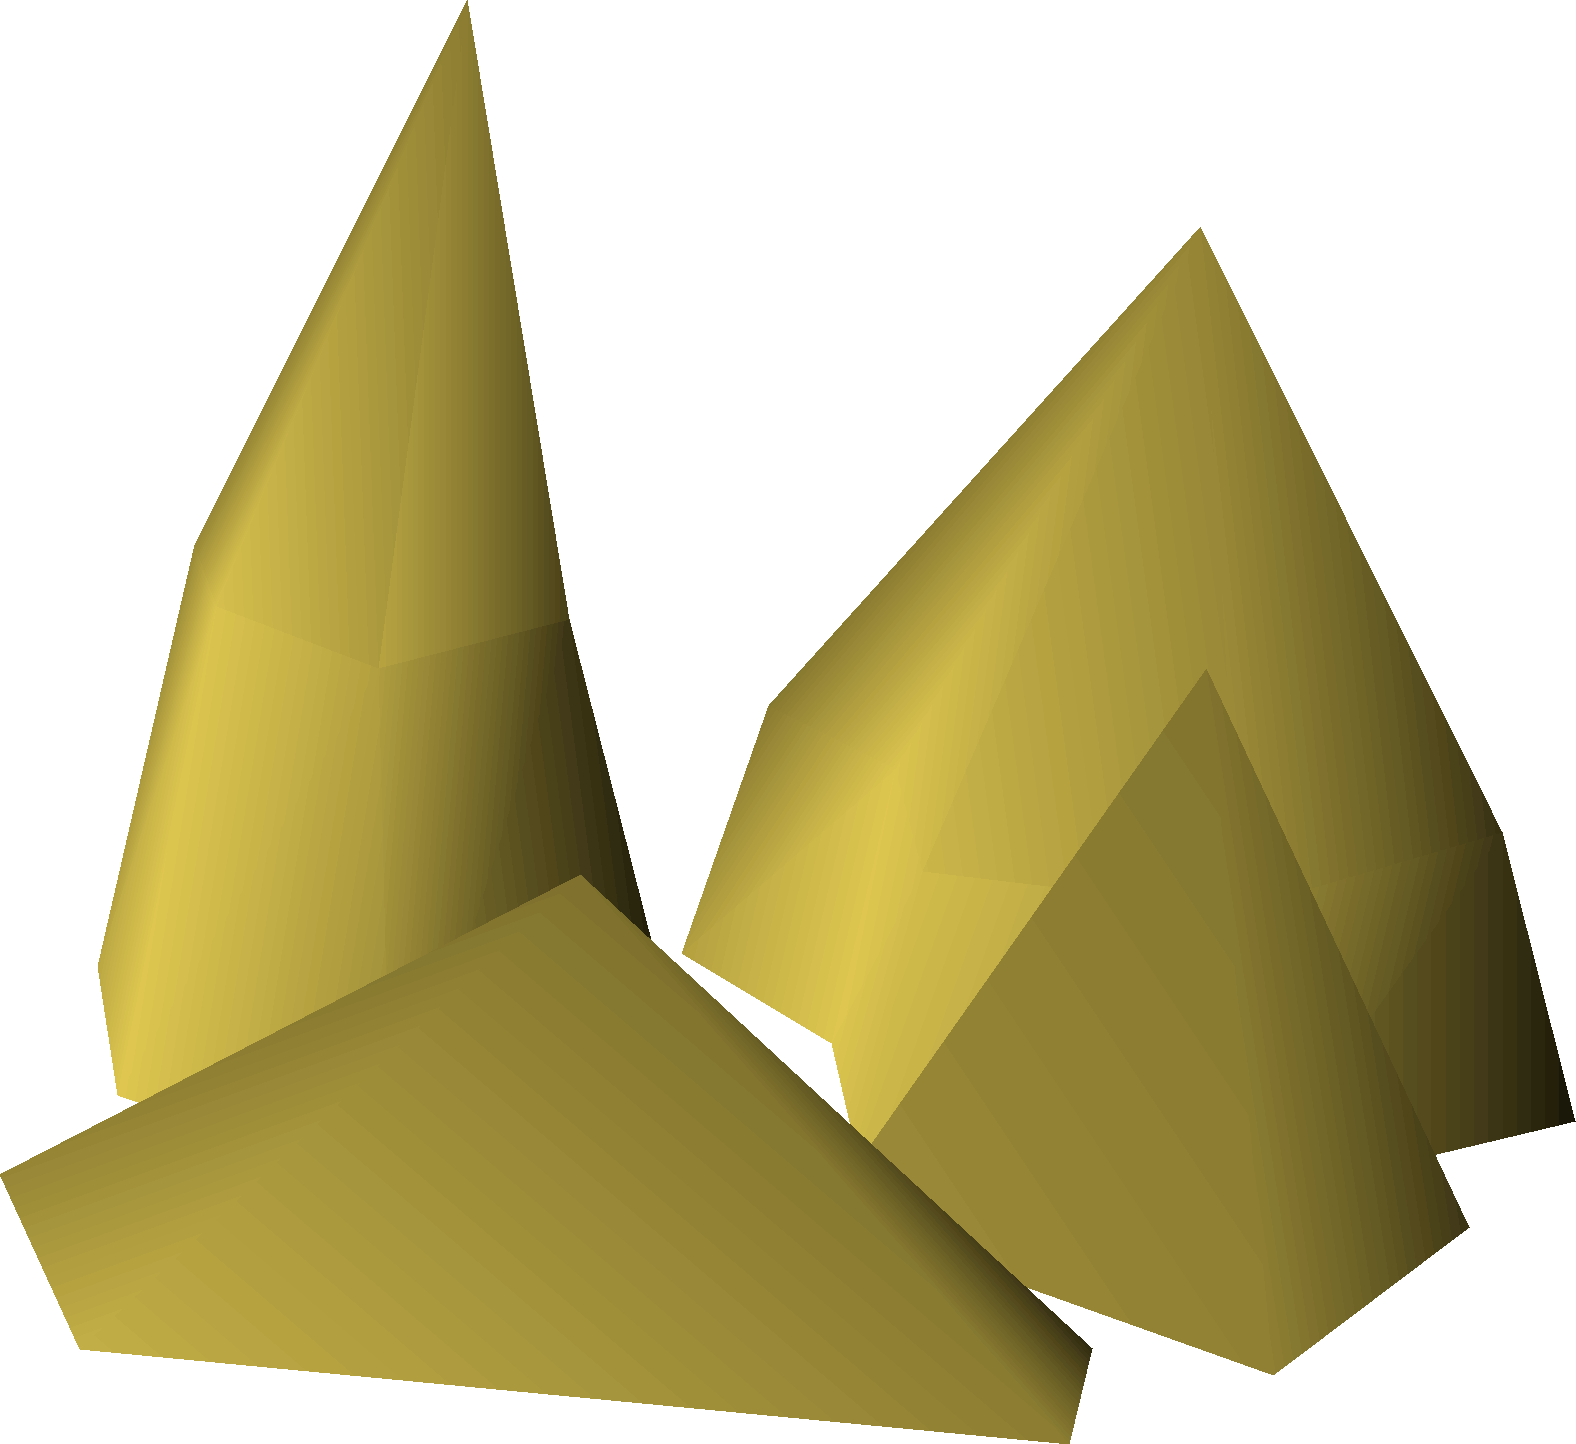
| Gold rocks | |||||||||||||||||||
|---|---|---|---|---|---|---|---|---|---|---|---|---|---|---|---|---|---|---|---|
| Released | 4 January 2001 (Update) | ||||||||||||||||||
| Members | No | ||||||||||||||||||
| Quest | No | ||||||||||||||||||
| Location | Varies | ||||||||||||||||||
| Map icon |  | ||||||||||||||||||
| Options | Mine | ||||||||||||||||||
| Examine | A rocky outcrop. | ||||||||||||||||||
| Advanced data | |||||||||||||||||||
| Object ID | 11371 | ||||||||||||||||||
| Link | MOID | ||||||||||||||||||

Gold rocks are a type of rock that contains gold ore; a Mining level of 40 or higher is required to mine them, granting 65 Mining experience for each ore mined. Once mined, a gold rock takes about a minute to respawn.
The Arzinian Mine, after completing Between a Rock..., and Crafting Guild, after completing the Hard Falador Diary, are the ideal places to mine gold.
Wearing mining gloves, superior mining gloves, or expert mining gloves makes the rock not deplete upon mining gold, allowing you to mine one, two, or three additional ore, respectively, before depleting.
Locations


Mining info
| Gold rocks | |||||||||
|---|---|---|---|---|---|---|---|---|---|
| Level required |  40 40 | ||||||||
| Mining XP | 65 xp | ||||||||
| Required tool | Pickaxe | ||||||||
| Respawn time | 1 minute | ||||||||
Rocks deplete and produce gold ore on every successful mining attempt, though more can be gained using special equipment.
| Item | Quantity | Rarity | Price | High Alch | |
|---|---|---|---|---|---|
 | Gold ore | 1 | Always | 144 | 90 |
 | 'perfect' gold ore | 1 | Always[d 1] | Not sold | 90 |
- ^ 'Perfect' ore drops instead of gold ore from the rocks in Witchaven Dungeon.
The probability to succeed on a given mining attempt scales with Mining level according to the figure below.[1]
{"type":"scatter","options":{"tooltips":{"intersect":false,"format":"skillingSuccess"},"datasetsPerGroup":3,"aspectRatio":1.35,"title":{"display":true,"font":{"size":18},"text":"Gold rocks mining chance","position":"top"},"scales":{"y":{"ticks":{"stepSize":0.1,"format":"percent"},"scaleLabel":{"display":true,"labelString":"Success rate"}},"x":{"ticks":{"stepSize":1},"scaleLabel":{"display":true,"labelString":"Level"}}},"maintainAspectRatio":false,"fill":false},"minWidth":"300px","resizable":true,"width":"min(540px, 100vw - 32px)","isChartObj":true,"height":"400px","isFinished":true,"minHeight":"300px","data":{"datasets":[{"fill":false,"borderCapStyle":"round","label":"Gold rocks ","showLine":true,"data":[{"y":0.13671875,"x":40}],"pointStyleImg":"Gold ore.png","hoverBackgroundColor":"rgba(151,198,222,0.5)","backgroundColor":"rgba(166,206,227,0.3)","borderDash":[5,5],"borderColor":"rgba(166,206,227,1)","hoverBorderColor":"rgba(151,198,222,1)","pointRadius":0,"clip":5,"baseColor":"goldenrod"},{"pointRadius":0,"label":"Gold rocks ","showLine":true,"data":[{"y":0.13671875,"x":40},{"y":0.140625,"x":41},{"y":0.140625,"x":42},{"y":0.14453125,"x":43},{"y":0.1484375,"x":44},{"y":0.15234375,"x":45},{"y":0.15234375,"x":46},{"y":0.15625,"x":47},{"y":0.16015625,"x":48},{"y":0.16015625,"x":49},{"y":0.1640625,"x":50},{"y":0.16796875,"x":51},{"y":0.16796875,"x":52},{"y":0.171875,"x":53},{"y":0.17578125,"x":54},{"y":0.17578125,"x":55},{"y":0.1796875,"x":56},{"y":0.18359375,"x":57},{"y":0.1875,"x":58},{"y":0.1875,"x":59},{"y":0.19140625,"x":60},{"y":0.1953125,"x":61},{"y":0.1953125,"x":62},{"y":0.19921875,"x":63},{"y":0.203125,"x":64},{"y":0.203125,"x":65},{"y":0.20703125,"x":66},{"y":0.2109375,"x":67},{"y":0.2109375,"x":68},{"y":0.21484375,"x":69},{"y":0.21875,"x":70},{"y":0.22265625,"x":71},{"y":0.22265625,"x":72},{"y":0.2265625,"x":73},{"y":0.23046875,"x":74},{"y":0.23046875,"x":75},{"y":0.234375,"x":76},{"y":0.23828125,"x":77},{"y":0.23828125,"x":78},{"y":0.2421875,"x":79},{"y":0.24609375,"x":80},{"y":0.25,"x":81},{"y":0.25,"x":82},{"y":0.25390625,"x":83},{"y":0.2578125,"x":84},{"y":0.2578125,"x":85},{"y":0.26171875,"x":86},{"y":0.265625,"x":87},{"y":0.265625,"x":88},{"y":0.26953125,"x":89},{"y":0.2734375,"x":90},{"y":0.2734375,"x":91},{"y":0.27734375,"x":92},{"y":0.28125,"x":93},{"y":0.28515625,"x":94},{"y":0.28515625,"x":95},{"y":0.2890625,"x":96},{"y":0.29296875,"x":97},{"y":0.29296875,"x":98},{"y":0.296875,"x":99}],"fill":false,"hoverBackgroundColor":"rgba(29,114,171,0.5)","backgroundColor":"rgba(31,120,180,0.3)","borderDash":[],"borderColor":"rgba(31,120,180,1)","hoverBorderColor":"rgba(29,114,171,1)","borderCapStyle":"round","clip":5,"baseColor":"goldenrod"},{"borderCapStyle":"round","hoverBorderColor":"rgba(169,219,124,1)","showLine":true,"data":[{"y":0.296875,"x":99}],"fill":false,"hoverBackgroundColor":"rgba(169,219,124,0.5)","borderDash":[],"borderColor":"rgba(178,223,138,1)","backgroundColor":"rgba(178,223,138,0.3)","pointRadius":5,"clip":5,"baseColor":"goldenrod"}]}}Pre-roll
The mining gem drop table has a 1/256 chance to roll on every mining attempt;[2] if the player is wearing a charged amulet of glory, amulet of glory (t), or amulet of eternal glory, the probability increases to 1/64.2.[3][4] If the table successfully rolls, the player may receive an uncut gem or nothing, and in either case can not receive an ore.[5] This neither depletes the rock nor grants Mining experience. The rates shown are for every mining attempt.
| Item | Quantity | Rarity | Price | High Alch | |
|---|---|---|---|---|---|
 | Nothing | N/A | 70/32,768; 70/8,216[d 1] | N/A | N/A |
 | Uncut sapphire | 1 | 32/32,768; 32/8,216[d 1] | 228 | 15 |
 | Uncut emerald | 1 | 16/32,768; 16/8,216[d 1] | 473 | 30 |
 | Uncut ruby | 1 | 8/32,768; 8/8,216[d 1] | 1,087 | 60 |
 | Uncut diamond | 1 | 2/32,768; 2/8,216[d 1] | 2,439 | 120 |
Tertiary
The following items can drop together with the main resource. The rates shown are for a successful mining attempt.
| Item | Quantity | Rarity | Price | High Alch | |
|---|---|---|---|---|---|
 | Crystal shard | 1 | 1/65[6][d 1] | Not sold | N/A |
 | Clue geode (beginner) | 1 | 1/296–1/208[d 2] | Not sold | N/A |
 | Loop half of key (moon key) | 1 | 1/1,977[d 3] | Not sold | N/A |
 | Clue geode (easy) | 1 | 1/2,521–1/1,685[d 2] | Not sold | N/A |
 | Clue geode (medium) | 1 | 1/2,966–1/1,982[d 2] | Not sold | N/A |
 | Clue geode (hard) | 1 | 1/4,894–1/3,271[d 2] | Not sold | N/A |
 | Clue geode (elite) | 1 | 1/14,832–1/9,912[d 2] | Not sold | N/A |
 | Rock golem | 1 | 1/295,640–1/294,165[d 4] | Not sold | N/A |
- ^ Crystal shards are only dropped in Prifddinas.
- ^ 2.0 2.1 2.2 2.3 2.4 The drop rate increases with Mining level; see Clue geode § Rates for more details.
- ^ Key halves are only dropped in Varlamore.
- ^ The drop rate increases with Mining level; see the pet calculator for more details.
Equipment
Varrock armour 1, 2, 3, and and 4 give a 10% chance to receive an extra ore.
Mining gloves allow one additional ore to be mined before the rocks deplete.
Superior mining gloves allow two additional ores to be mined before the rocks deplete.
Expert mining gloves allow three additional ores to be mined before the rocks deplete.
Celestial rings and signets provide an invisible +4 boost to Mining level, regardless of charges. When charged with stardust, they also give a 10% chance to receive an extra ore.
Prospector kit boosts Mining experience by 2.5%.
Amulet of glory increases the chance of obtaining gems when charged.
Mining capes give a 5% chance to receive an extra ore.
- Varrock armour, celestial rings, and Mining capes roll independently; multiple bonus resources can be given.
Changes
| Date | Changes |
|---|---|
| 20 March 2024 (Update) |
Map icon for the 2 standard variants changed from |
| 15 March 2023 (Update | poll) |
|
| 7 December 2022 (Update | poll) |
The random tick delay after mining gold has been removed. |
| 21 January 2016 (Update | poll) |
The object was graphically updated |
See also
References
| Mining rocks and sources | |||||||
|---|---|---|---|---|---|---|---|
| Ores | |||||||
| Fragments | |||||||
| Salts | |||||||
| Gems | |||||||
| Other mineables |
| ||||||
| Pickaxes | |||||||
| Mining enhancers |
| ||||||
| Historical | |||||||


.png)
.png)