Dorgesh-Kaan Agility Course
This copy was last processed on . The copied wiki revision is dated .
| Dorgesh-Kaan Agility Course | ||||
|---|---|---|---|---|
 | ||||
| Released | 20 March 2007 (Update) | |||
| Members | Yes | |||
| Location | Dorgesh-Kaan | |||
| League region |  Misthalin✓ Misthalin✓ | |||
| Map | ||||
| Advanced data | ||||
| Type | agility course | |||
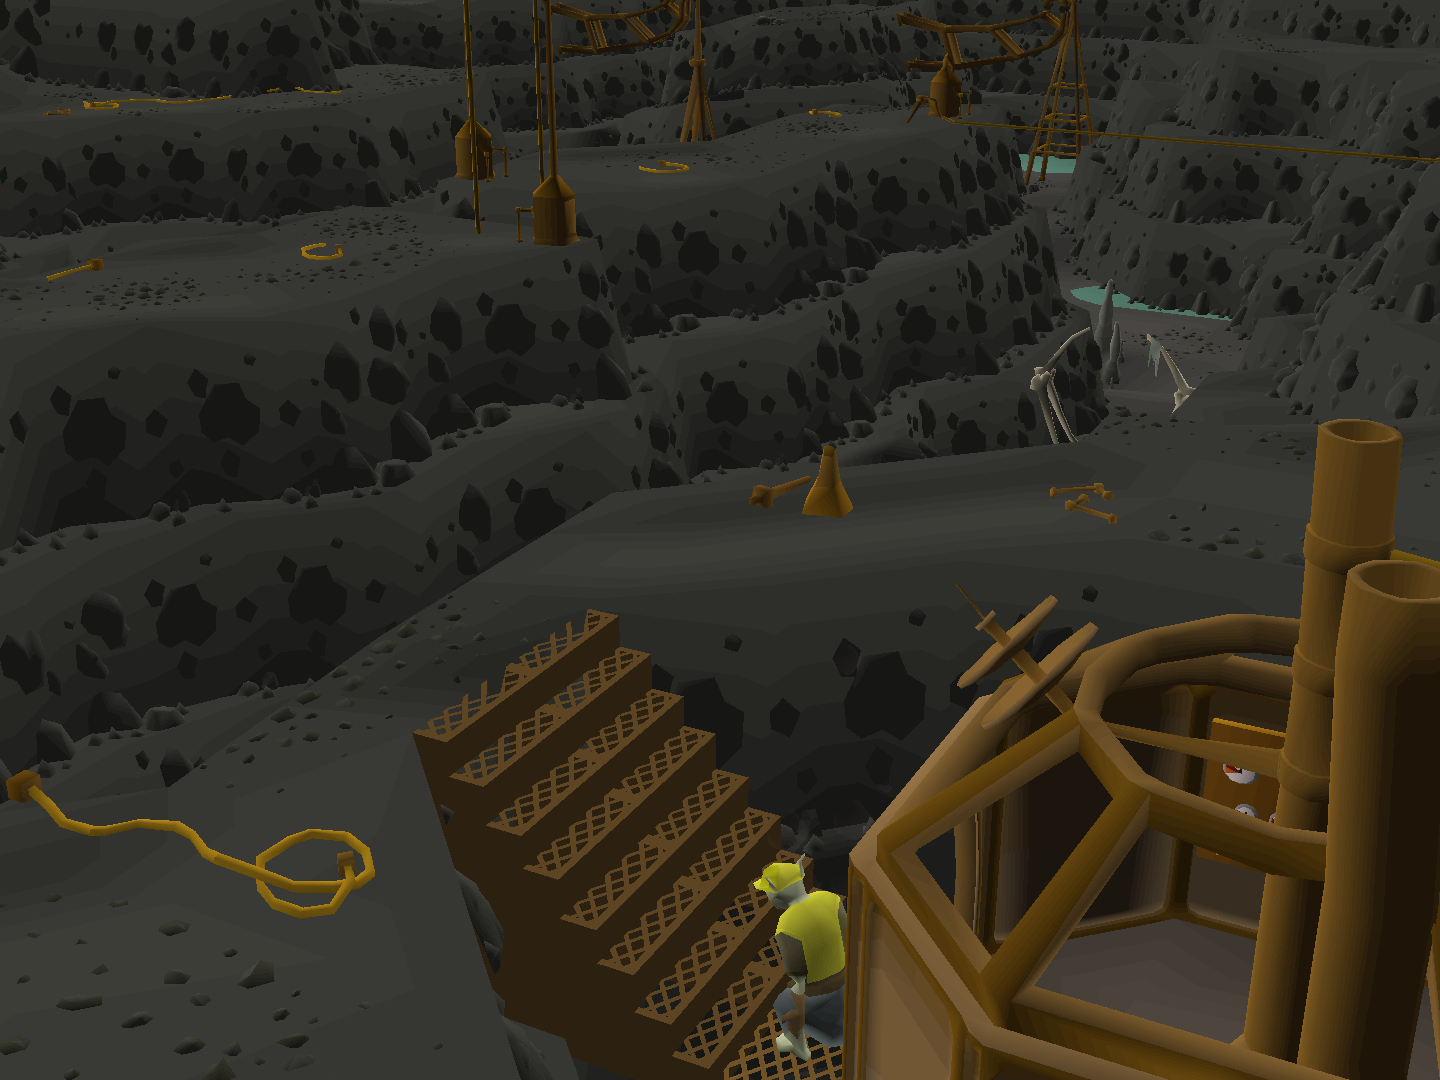
The Dorgesh-Kaan Agility Course is an Agility training area located in Dorgesh-Kaan, available to players with level 70 Agility. Completion of the quest Death to the Dorgeshuun is also required. Optionally, level 70 Strength and Ranged (in addition to 70 Agility), are required to traverse the grapple route, which gives experience in Agility, Strength and Ranged. To train at the Agility course, the player also has to bring a light source.
The Agility course rewards 2,750 Agility experience per completed lap. With an average time of 156 seconds per lap, it is possible to get upwards of 63,000 Agility experience per hour from this course. At lower Agility levels expect to get around 50,000–60,000 Agility experience per hour, depending on concentration levels. In addition to experience, players can also receive marks of grace during this course.
While having very similar experience rates per hour to the Ardougne Rooftop Course, the chance to get the giant squirrel pet is around 15% higher at the Dorgesh-Kaan Agility Course.
Introduction
The Dorgesh-kaan Agility Course requires level 70 Agility, completion of 
Transportation
The Dorgesh-Kaan agility course located at the southernmost point of the upper level of Dorgesh-Kaan. There are several different methods for travelling there. The best options, ordered from fast to slow, are:
- Dial the fairy ring code AJQ. Run to the northernmost part of the cave and go up the ladder to the right.
- Break a Dorgesh-Kaan teleport sphere and run to the course from there.
- Take a Keldagrim minecart from the Grand Exchange to Keldagrim. Head east through a doorway and take the train at the station to Dorgesh-Kaan. Exit the train station and go up the stairs to the south.
- Enter the Lumbridge Swamp Caves from the cellar in Lumbridge Castle. Use the travel option on Kazgar to travel to the mines. From there, run south to enter the city of Dorgesh-Kaan. The Agility course is located on the 2nd floor to the south.
Strategies
Equipment
- Wear weight-reducing clothing to achieve a weight of 0 kg or lower. This results in a lower run energy depletion rate.
- When planning on taking the grapple route, bring any crossbow, as well as multiple mith grapples, since there is a 1/25[1] chance of the grapple being destroyed upon usage.
Inventory
- A lightsource
- A spanner, which is obtained by talking to Turgall.
- Bring some food to restore lost Hitpoints from taking damage from failing Agility obstacles.
- Bring enough energy-restoring items for enough energy to constantly run around the course.
Gameplay
First, talk to Turgall to offer help. He is found in the well-lit power generator in the north-eastern part of the Agility course. Turgall will then hand a spanner to disassemble a part from the old power generator in the south-west corner. He will always mention two components he needs. Depending on the desired route, one of those two items should be retrieved. The heavy items can only be taken back via the Agility route, while the delicate items can only be taken back via the grapple route.
Warning: Teleporting with any components causes them to break.


The Agility route will solely reward Agility experience, while the Grapple route will mainly reward Ranged experience and small amounts of Agility and Strength experience. It is also possible to take different routes back and forth, which will split the experience between Agility and Ranged (plus a small amount of Strength experience). The part that was disassembled from the old power generator will dictate whether to take the Agility or the grapple route back. The route there is open to the player's choice: whether they want to focus on Agility or Ranged experience.
Route options
After offering Turgall some help and knowing which two parts to choose from, decide which route to take: the Agility route for more Agility experience, or the grapple route for more Ranged experience.
If not failed:
- The Agility route back and forth takes 2:36 minutes.
- The grapple route back and forth takes 1:30 minutes.
- A combination of both routes takes 2:03 minutes.
Agility route
| Image | Obstacle | Experience |
|---|---|---|
| Cable |  25 25
| |
| Cable | 22
| |
| Ladder | 25
| |
| Cable | 22
| |
| Jutting wall | 7.5
| |
| Tunnel | 7.5
| |
| Cable | 25
| |
| Ladder | 25
| |
| N/A | Delivery bonus | 2,432 [d 1]
|
| Total [d 2] | 2,750
| |
| Dorgesh-Kaan Agility Route Completion Bonus | |||||||||
|---|---|---|---|---|---|---|---|---|---|
| Level required | 70 | ||||||||
| Agility XP | 2,432 xp | ||||||||
| Agility course | Dorgesh-Kaan Agility Course | ||||||||
| Type | Completion Bonus | ||||||||
It is possible to fail the tightrope cable and monkeybar ladder obstacles, even at level 99 Agility. A fall will drop a player to the lower level of the dungeon, causing about 10 damage and damaging any item retrieved from the generator. To return to the course, use the ladder found at the north side of the dungeon near the entrance from Dorgesh-Kaan.
Grapple route
| Image | Obstacle | Experience |
|---|---|---|
| Pylon | 18  18 18  18 18
| |
| Pylon | 18 18 18
| |
| Pylon | 18 18 18
| |
| N/A | Delivery bonus | 1,142 [d 1]
|
| Total [d 2] | 108 1,250 108
| |
| Dorgesh-Kaan Grapple Route Completion Bonus | |||||||||
|---|---|---|---|---|---|---|---|---|---|
| Level required | 70 70 70 | ||||||||
| Agility XP | 108 xp | ||||||||
| Ranged XP | 1,250 xp | ||||||||
| Strength XP | 108 xp | ||||||||
| Agility course | Dorgesh-Kaan Agility Course | ||||||||
| Type | Completion Bonus | ||||||||
Disassembling the parts
Once arrived at the old power generator in the south-west corner, decide which route to choose back: the Agility route or the grapple route.
- For the Agility route, disassemble either the powerbox, lever or cog from the boiler.
- For the grapple route, disassemble either the capacitor, fuse or meter from the console.
To disassemble a part, use the spanner on either of the two machines described above.
Returning the parts
Return to Turgall to deliver him one of the parts he requested, in return for bonus experience.
Experience rates
Due to the success rate of the obstacles, the experience rates scale with the player's Agility level. Additionally, should players choose the grapple route, the pylons should be approached first before grappling to avoid a lengthy animation delay.
Agility only
When following the Agility route back and forth at level 99, expect to be able to complete a maximum of 23 laps per hour resulting in 63,000 Agility experience per hour.
At lower Agility levels or lower concentration expect to get around 50,000–60,000 Agility experience per hour.
Grapple only
When following the grapple route back and forth, expect to be able to complete a maximum of 40 laps per hour resulting in 50,000 Ranged experience, 4,300 Agility experience, and 4,300 Strength experience per hour.
Both
When following the grapple route one way and the Agility route at level 99 the other way, expect to be able to complete a maximum of 29 laps per hour resulting in 41,000 Agility experience, 18,000 Ranged experience, and 1,500 Strength experience per hour.
Marks of grace rates
This course spawns marks of grace at only one location, which is at the south end of the east ladder obstacle. These are awarded regardless of the routes taken, meaning that when taking the grapple route both ways, marks are awarded but cannot be collected. If doing the grapple only route and marks are valued, consider detouring to the Agility route once every nine minutes to collect any marks that may be waiting.
Agility only
Expect to obtain around 10-14 marks of grace per hour.
Grapple only
Unknown
Both
Unknown
Changes
| Date | Changes |
|---|---|
| 8 May 2024 (Update) |
Players will now receive marks of grace during the course. |
Trivia
- Unlike most other agility obstacles, it is not possible to have a follower while attempting the obstacles here.
References
| Agility courses |
|
|---|---|
| Rooftop Agility courses |
|


| Gnome Stronghold | |
|---|---|
| Brimhaven Arena | |
| Shayzien Course | |
| Agility Pyramid | |
| Penguin | |
| Barbarian Outpost | |
| Ape Atoll | |
| Wilderness | |
| Werewolf | |
| Dorgesh-Kaan | |
| Prifddinas | |
| Hallowed Sepulchre | |
| Colossal Wyrm | |
| NPCs |
| ||||
|---|---|---|---|---|---|
| Items | |||||
| Related | |||||

| Inhabitants |
| ||||||||
|---|---|---|---|---|---|---|---|---|---|
| Features | |||||||||
| Items |
| ||||||||
| Scenery |
| ||||||||
| Related | |||||||||


.png)
.png)
.png)
.png)
.png)
.png)
.png)
.png)
.png)
.png)
.png)