Stone block (Agility Pyramid)
Article
Live index
This copy was last processed on . The copied wiki revision is dated .
| Stone block | |||||||||||||||||||
|---|---|---|---|---|---|---|---|---|---|---|---|---|---|---|---|---|---|---|---|
.png) | |||||||||||||||||||
| Released | 16 January 2006 (Update) | ||||||||||||||||||
| Members | Yes | ||||||||||||||||||
| Quest | None | ||||||||||||||||||
| Location | Agility Pyramid | ||||||||||||||||||
| Options | None | ||||||||||||||||||
| Examine | A stone block. | ||||||||||||||||||
| Advanced data | |||||||||||||||||||
| Object ID | 10875,10876 | ||||||||||||||||||
| Link | MOID | ||||||||||||||||||
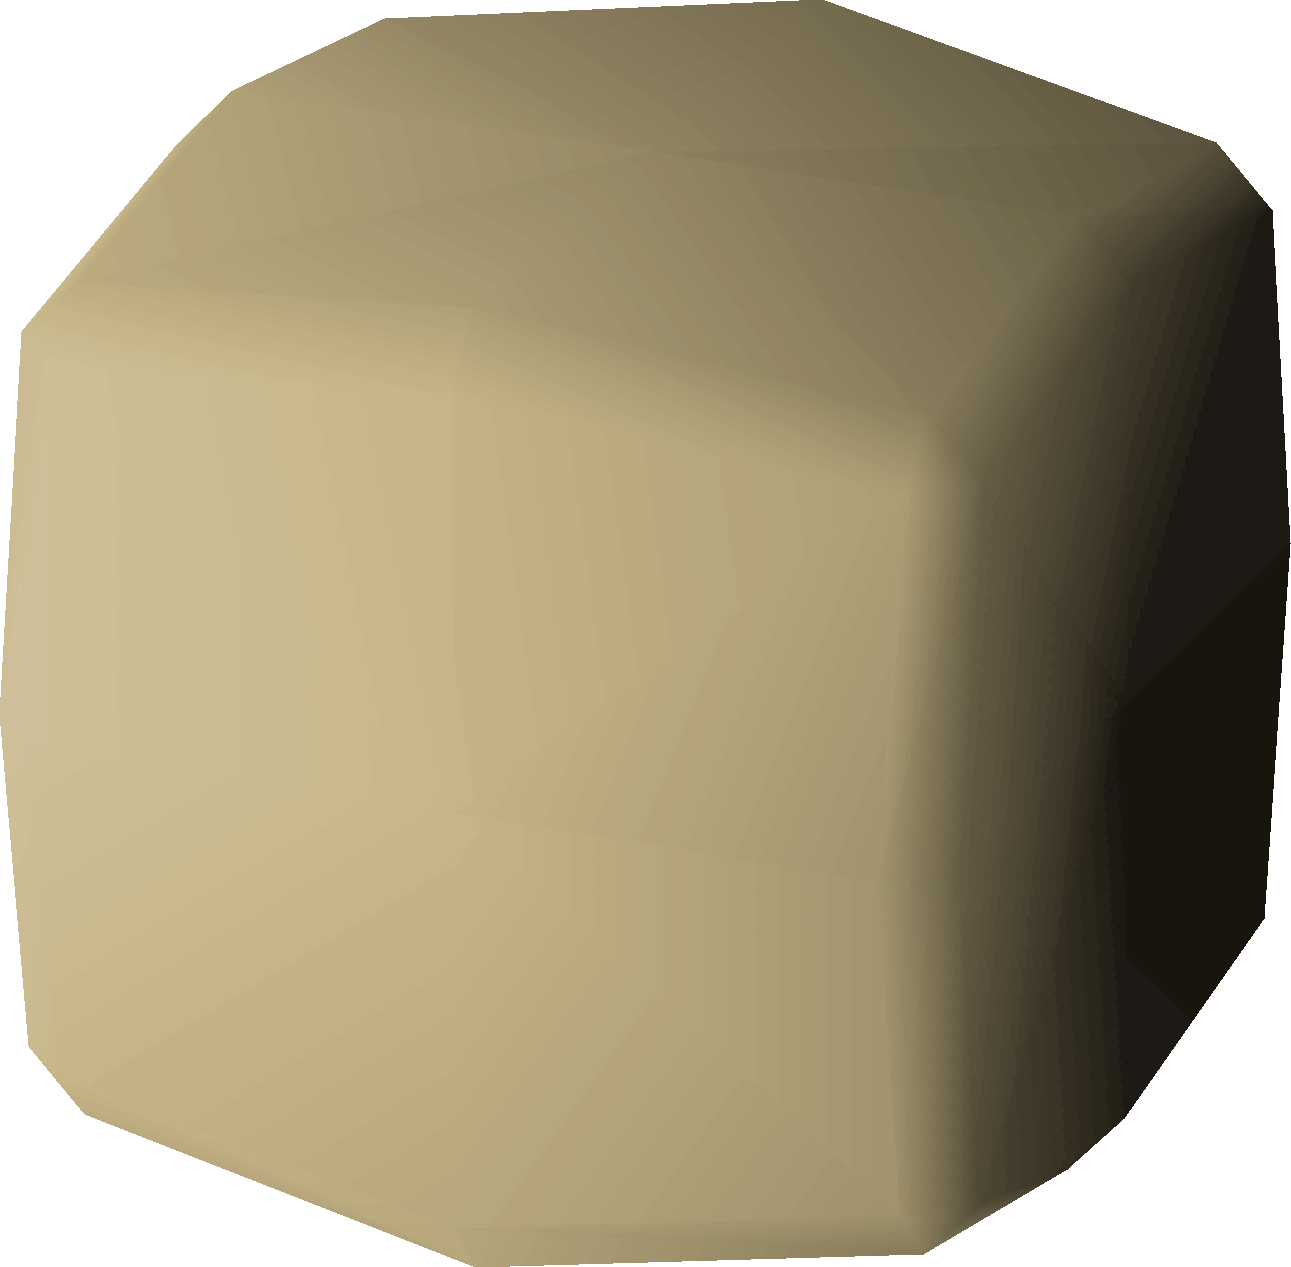
The stone block is an Agility obstacle found within the Agility Pyramid. An Agility level of 30 is required to pass the obstacle, which will then grant the player 12 Agility experience. Failure to pass the block will cause the player to fall to the previous level.
Locations
| Location | Members | Spawns | Map | League region |
|---|---|---|---|---|
| Agility Pyramid |  | 2 | Show map |  Desert✓ Desert✓ |
| Agility Pyramid, 1st floor | | 1 | Show map | Desert✓ |
| Agility Pyramid, 3rd floor | | 1 | Show map | Desert✓ |
Agility info
| Stone block | |||||||||
|---|---|---|---|---|---|---|---|---|---|
| Level required |  30 30 | ||||||||
| Agility XP | 12 xp | ||||||||
| Agility course | Agility Pyramid | ||||||||
| Type | Obstacle | ||||||||
Success chance
The following success rates are provided by Jagex.
{"type":"scatter","options":{"tooltips":{"intersect":false,"format":"skillingSuccess"},"datasetsPerGroup":3,"aspectRatio":1.35,"title":{"display":false,"font":{"size":18},"position":"top"},"scales":{"y":{"ticks":{"stepSize":0.1,"format":"percent"},"scaleLabel":{"display":true,"labelString":"Success chance"}},"x":{"ticks":{"stepSize":1},"scaleLabel":{"display":true,"labelString":"Agility level"}}},"maintainAspectRatio":false,"fill":false},"minWidth":"300px","resizable":true,"width":"min(540px, 100vw - 32px)","isChartObj":true,"height":"400px","isFinished":true,"minHeight":"300px","data":{"datasets":[{"fill":false,"borderCapStyle":"round","label":"Crossing the tilting block ","showLine":true,"data":[{"y":0.8359375,"x":30}],"pointStyleImg":"Pyramid top.png","hoverBackgroundColor":"rgba(151,198,222,0.5)","backgroundColor":"rgba(166,206,227,0.3)","borderDash":[5,5],"borderColor":"rgba(166,206,227,1)","hoverBorderColor":"rgba(151,198,222,1)","pointRadius":0,"clip":5,"baseColor":""},{"pointRadius":0,"label":"Crossing the tilting block ","showLine":true,"data":[{"y":0.8359375,"x":30},{"y":0.84375,"x":31},{"y":0.84765625,"x":32},{"y":0.85546875,"x":33},{"y":0.859375,"x":34},{"y":0.8671875,"x":35},{"y":0.87109375,"x":36},{"y":0.87890625,"x":37},{"y":0.8828125,"x":38},{"y":0.890625,"x":39},{"y":0.89453125,"x":40},{"y":0.90234375,"x":41},{"y":0.91015625,"x":42},{"y":0.9140625,"x":43},{"y":0.921875,"x":44},{"y":0.92578125,"x":45},{"y":0.93359375,"x":46},{"y":0.9375,"x":47},{"y":0.9453125,"x":48},{"y":0.94921875,"x":49},{"y":0.95703125,"x":50},{"y":0.96484375,"x":51},{"y":0.96875,"x":52},{"y":0.9765625,"x":53},{"y":0.98046875,"x":54},{"y":0.98828125,"x":55},{"y":0.9921875,"x":56},{"y":1,"x":57}],"fill":false,"hoverBackgroundColor":"rgba(29,114,171,0.5)","backgroundColor":"rgba(31,120,180,0.3)","borderDash":[],"borderColor":"rgba(31,120,180,1)","hoverBorderColor":"rgba(29,114,171,1)","borderCapStyle":"round","clip":5,"baseColor":""},{"borderCapStyle":"round","hoverBorderColor":"rgba(169,219,124,1)","showLine":true,"data":[{"y":1,"x":57}],"fill":false,"hoverBackgroundColor":"rgba(169,219,124,0.5)","borderDash":[],"borderColor":"rgba(178,223,138,1)","backgroundColor":"rgba(178,223,138,0.3)","pointRadius":5,"clip":5,"baseColor":""}]}}
| Gnome Stronghold | |
|---|---|
| Brimhaven Arena | |
| Shayzien Course | |
| Agility Pyramid | |
| Penguin | |
| Barbarian Outpost | |
| Ape Atoll | |
| Wilderness | |
| Werewolf | |
| Dorgesh-Kaan | |
| Prifddinas | |
| Hallowed Sepulchre | |
| Colossal Wyrm | |