The Tempor Tantrum
This copy was last processed on . The copied wiki revision is dated .
| The Tempor Tantrum | |||||||||||||||||||
|---|---|---|---|---|---|---|---|---|---|---|---|---|---|---|---|---|---|---|---|
| Released | 19 November 2025 (Update) | ||||||||||||||||||
| Members | Yes | ||||||||||||||||||
| Location | The Storm Tempor | ||||||||||||||||||
| League region | N/A | ||||||||||||||||||
| Skills | Sailing | ||||||||||||||||||
| Music | Test Your Sails | ||||||||||||||||||
| Map | |||||||||||||||||||
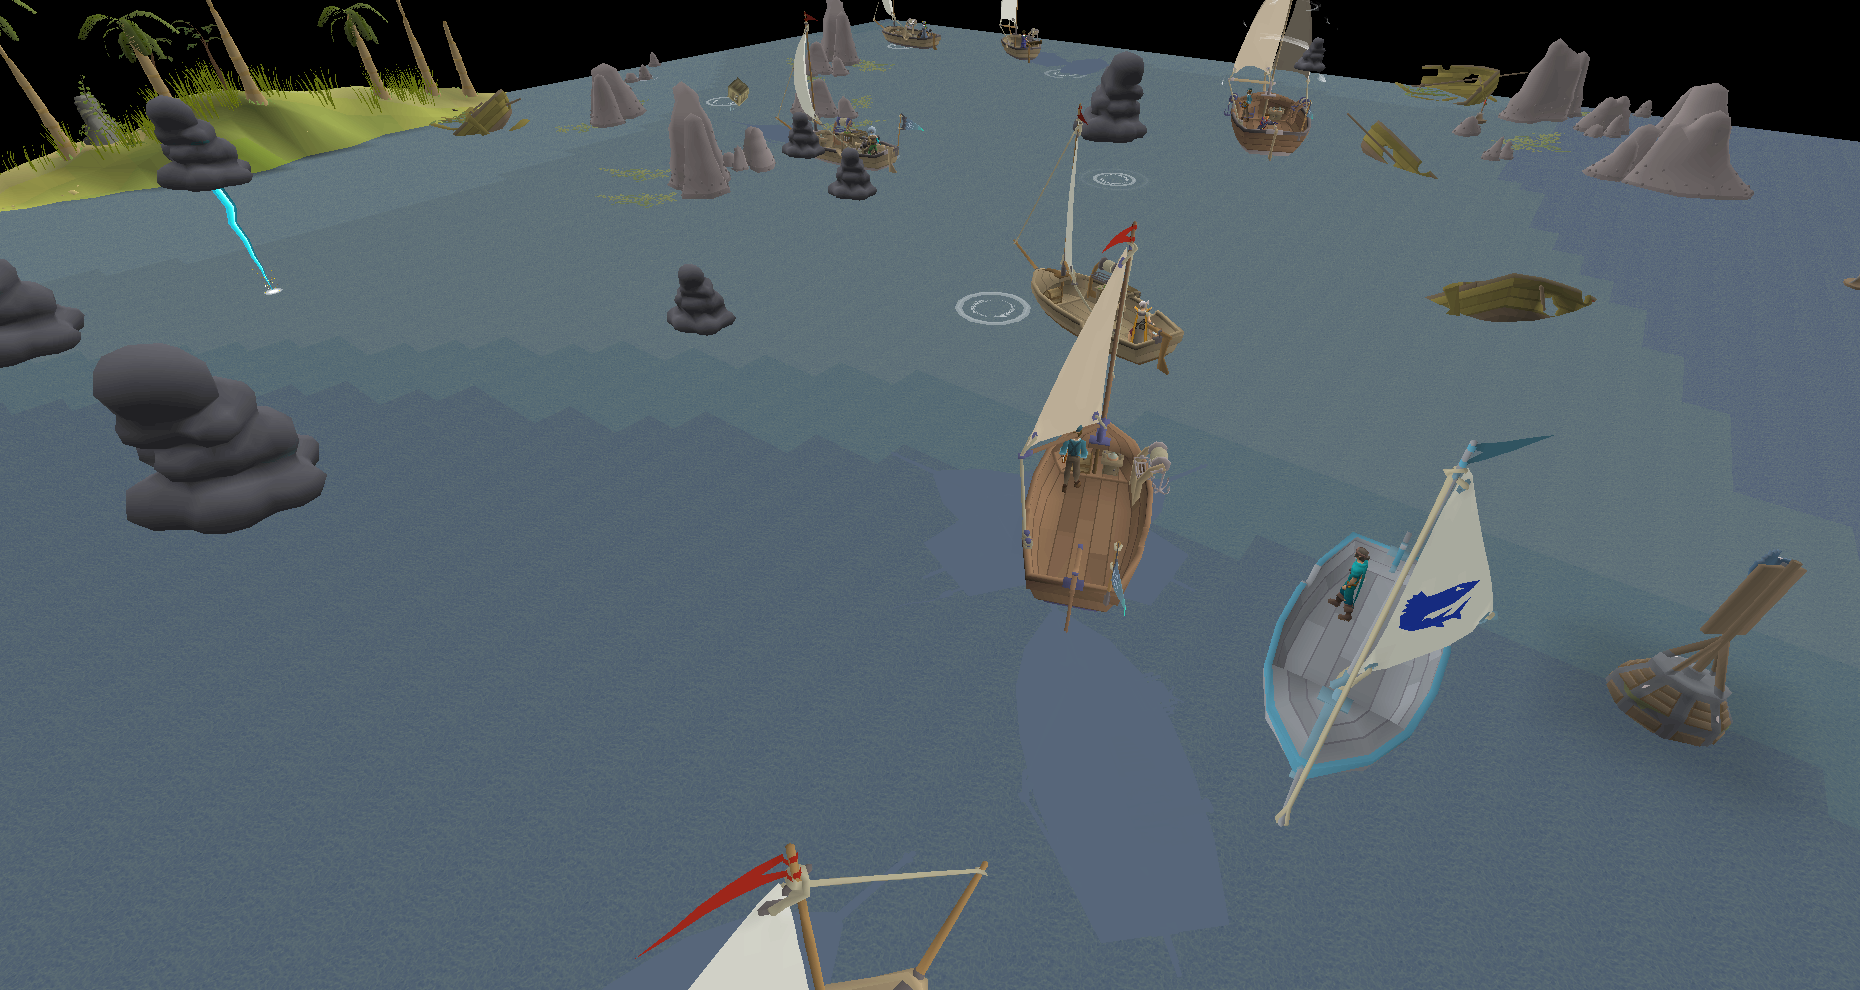
The Tempor Tantrum is a Barracuda Trial located in the Storm Tempor, just south of The Pandemonium, which requires level 30 Sailing[not boostable]. It can be started by talking to the trial master, Rum-dashed Ralph.
| Marlin Rank Crates |
|---|
[{"regionX":10,"z":0,"regionId":12077,"label":"#1","regionY":9,"color":"#BEFFFF00"},{"regionX":57,"z":0,"regionId":11820,"label":"#2","regionY":50,"color":"#BEFFFF00"},{"regionX":60,"z":0,"regionId":11820,"label":"#3","regionY":18,"color":"#BEFFFF00"},{"regionX":62,"z":0,"regionId":11820,"label":"#4","regionY":3,"color":"#BEFFFF00"},{"regionX":22,"z":0,"regionId":12075,"label":"#5","regionY":63,"color":"#BEFFFF00"},{"regionX":20,"z":0,"regionId":12075,"label":"#6","regionY":37,"color":"#BEFFFF00"},{"regionX":5,"z":0,"regionId":12331,"label":"#7","regionY":24,"color":"#BEFFFF00"},{"regionX":10,"z":0,"regionId":12331,"label":"#8","regionY":49,"color":"#BEFFFF00"},{"regionX":21,"z":0,"regionId":12332,"label":"#9","regionY":19,"color":"#BEFFFF00"},{"regionX":6,"z":0,"regionId":12332,"label":"#10","regionY":47,"color":"#BEFFFF00"},{"regionX":10,"z":0,"regionId":12332,"label":"#11","regionY":59,"color":"#BEFFFF00"},{"regionX":51,"z":0,"regionId":12077,"label":"#12","regionY":24,"color":"#BEFFFF00"},{"regionX":50,"z":0,"regionId":11821,"label":"#13","regionY":11,"color":"#BEFFFF00"},{"regionX":34,"z":0,"regionId":11820,"label":"#14","regionY":50,"color":"#BEFFFF00"},{"regionX":37,"z":0,"regionId":11820,"label":"#15","regionY":32,"color":"#BEFFFF00"},{"regionX":34,"z":0,"regionId":11820,"label":"#16","regionY":12,"color":"#BEFFFF00"},{"regionX":46,"z":0,"regionId":11819,"label":"#17","regionY":56,"color":"#BEFFFF00"},{"regionX":57,"z":0,"regionId":11819,"label":"#18","regionY":36,"color":"#BEFFFF00"},{"regionX":4,"z":0,"regionId":12075,"label":"#19","regionY":16,"color":"#BEFFFF00"},{"regionX":29,"z":0,"regionId":12075,"label":"#20","regionY":10,"color":"#BEFFFF00"},{"regionX":49,"z":0,"regionId":12075,"label":"#21","regionY":40,"color":"#BEFFFF00"},{"regionX":57,"z":0,"regionId":12075,"label":"#22","regionY":59,"color":"#BEFFFF00"},{"regionX":5,"z":0,"regionId":12332,"label":"#23","regionY":9,"color":"#BEFFFF00"},{"regionX":52,"z":0,"regionId":12077,"label":"#24","regionY":2,"color":"#BEFFFF00"},{"regionX":19,"z":0,"regionId":11821,"label":"#25","regionY":2,"color":"#BEFFFF00"},{"regionX":21,"z":0,"regionId":11820,"label":"#26","regionY":49,"color":"#BEFFFF00"},{"regionX":13,"z":0,"regionId":11820,"label":"#27","regionY":13,"color":"#BEFFFF00"},{"regionX":9,"z":0,"regionId":11819,"label":"#28","regionY":57,"color":"#BEFFFF00"},{"regionX":22,"z":0,"regionId":11819,"label":"#29","regionY":43,"color":"#BEFFFF00"},{"regionX":43,"z":0,"regionId":11819,"label":"#30","regionY":25,"color":"#BEFFFF00"},{"regionX":23,"z":0,"regionId":12331,"label":"#31","regionY":23,"color":"#BEFFFF00"},{"regionX":47,"z":0,"regionId":12332,"label":"#32","regionY":39,"color":"#BEFFFF00"},{"regionX":21,"z":0,"regionId":12333,"label":"#33","regionY":2,"color":"#BEFFFF00"},{"regionX":12,"z":0,"regionId":12333,"label":"#34","regionY":16,"color":"#BEFFFF00"},{"regionX":7,"z":0,"regionId":12333,"label":"#35","regionY":26,"color":"#BEFFFF00"},{"regionX":45,"z":0,"regionId":12077,"label":"#36","regionY":40,"color":"#BEFFFF00"}] |
| Tile markers guide • Data |
Due to the dangerous storms surrounding Tempoross Cove, merchants are unable to sail through the area. The Barracudas sail through the storm to pick up rum shipments from merchant ships south of the storm, then ferry them back north to the Barracudas' boat. Lost supplies also litter the area. Delivering all the rum shipments and collecting all the lost supplies in the time given will award a player a barracuda rank.
An iron helm and oak mast are required to attempt the trial. Only Skiffs may be used.
If the trial area is left, the player has 10 seconds to return or their progress will be lost.
Players cannot use crewmates during Tempor Tantrum; if there are crew members present on their ship, they will be unable to start the trial. Rum-dashed Ralph can open the Crew Management interface to allow players to dismiss their crewmates immediately before starting.
Navigating and hazards
Gentle rapids will provide a speed boost to a player's ship. This boost stacks with the number of rapids sailed over, but decays over time.
Lightning clouds appear and move around the trial area, occasionally becoming larger and emitting bolts of lightning. These will reduce a ship's speed and cause damage.
Rocks litter the area. Running into a rock will immediately kill a ship's momentum, reducing it to normal speed again.
- Lap 1 - Red
- Lap 2 - Blue
- Lap 3 - Yellow
Swordfish rank
Shark rank
Marlin rank
Tips
- Only one rum shipment can be collected at a time, necessitating multiple loops around the course at higher difficulties.
- If using a game client that allows it, increase draw distance to see crates from farther away. Tile markers can also be used to plot a route to follow.
- Hull and mast upgrades can drastically improve trial times, and can be built using boosts such as a spicy stew. Some useful upgrades for skiffs are listed below:
 Level Level
|
 Level Level
|
Boat part | Materials | Cost | Boat Speed | Boat hitpoints |
|---|---|---|---|---|---|---|
| 31 | 23 |  Teak hull Teak hull
|
 Teak hull parts x10 Teak hull parts x10 Steel nails x300 Steel nails x300 Swamp tar x20 Swamp tar x20
|
28,440 | 2 | 60 |
| 36 | 26 |  Teak mast and canvas sails Teak mast and canvas sails
|
 Teak logs x10Steel nails x40 Teak logs x10Steel nails x40 Bolt of canvas x5 Bolt of canvas x5
|
20,925 | Speed Boost Duration | Acceleration |
| 24 | 0.5 | |||||
| 52 | 45 |  Mahogany mast and canvas sails Mahogany mast and canvas sails
|
 Mahogany logs x10 Mahogany logs x10 Mithril nails x40Bolt of canvas x5 Mithril nails x40Bolt of canvas x5
|
23,915 | 27 | 0.5 |

Rewards
Rewards include the stormy key, barrel stand and Ralph's fabric roll. A barrel stand is required to build a keg facility on a ship. Additionally, Whirlpool surprise is unlocked by achieving the Shark rank and can be obtained by talking to Rum-dashed Ralph.
Additionally, completing the Marlin rank has a 1/240 chance to award Barracuda paint.
Completing trials awards experience, with an additional one-time bonus when a new rank is achieved by beating the target time. Prior ranks must be earned before the next is available to attempt, starting with Swordfish. Additionally, each crate picked up during the trials has a chance of giving you 1 sawmill coupon (oak plank).
| Rank | Trial XP | Lost Supplies | Cumulative lap XP | Target Time | Cumulative XP/hr | Bonus XP | Reward | |
|---|---|---|---|---|---|---|---|---|
 |
Unranked | 150 | 150 | 300 | - | - | - | |
 |
Swordfish | 385 | 210 | 595 | 1:48 | 20,000 | 1,000 |  Stormy key Stormy key
|
 |
Shark | 650 | 375 | 1,025 | 2:51 | 21,600 | 2,000 |  Barrel stand Barrel stand
|
 |
Marlin | 1,250 | 540 | 1,790 | 4:30 | 23,800 | 3,000 |  Ralph's fabric roll Ralph's fabric roll
|

| The Tempor Tantrum (Barracuda Trial) | |||||||||
|---|---|---|---|---|---|---|---|---|---|
| Level required | 30 | ||||||||
| Sailing XP | 150 xp | ||||||||
Changes
| Date | Changes |
|---|---|
| 17 December 2025 (Update) |
|
| 26 November 2025 (Update) |
Fixed issues with extra trial boxes and uneven box collision within all Barracuda Trials. |
| NPCs | |||||||||
|---|---|---|---|---|---|---|---|---|---|
| Items |
| ||||||||
| Scenery |
| ||||||||
| Other | |||||||||


.png)