Demonic Brutus/Strategies
This copy was last processed on . The copied wiki revision is dated .
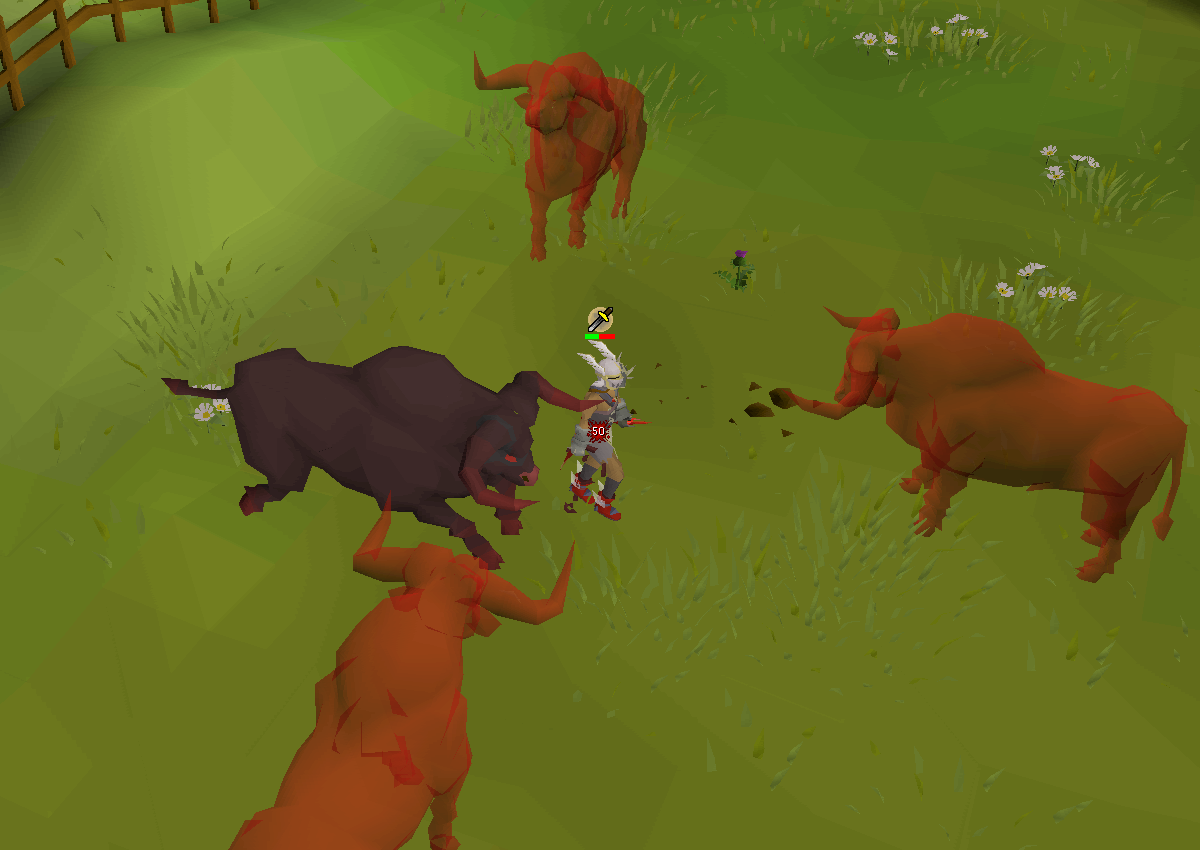
After completion of Desert Treasure II - The Fallen Empire, players are able to pluck abyssal potatoes from a growth found within the Scar, which can be fed to Brutus to initiate an encounter with Demonic Brutus, a much harder variant of the boss.
Fight overview
Unlike Brutus, Demonic Brutus' basic melee attack can hit through Protect from Melee, with a max hit of 4. He cannot be killed as part of a cow slayer task, and is immune to stat drains and enchanted bolts effects. Additionally, despite his name, Demonic Brutus is not classified as a demon.
| Tile markers |
|---|
[{"regionX":59,"z":0,"regionId":12851,"label":"2","regionY":20,"color":"#96FFFFFF"},{"regionX":60,"z":0,"regionId":12851,"label":"1","regionY":22,"color":"#96FFFFFF"},{"regionX":59,"z":0,"regionId":12851,"label":"2","regionY":23,"color":"#96FFFFFF"},{"regionX":59,"z":0,"regionId":12851,"label":"2","regionY":25,"color":"#96FF0000"},{"regionX":59,"z":0,"regionId":12851,"label":"1","regionY":24,"color":"#96FF0000"},{"regionX":58,"z":0,"regionId":12851,"label":"1","regionY":23,"color":"#96FFFFFF"},{"regionX":57,"z":0,"regionId":12851,"label":"2","regionY":23,"color":"#96FF0000"},{"regionX":57,"z":0,"regionId":12851,"label":"1","regionY":24,"color":"#96FF0000"},{"regionX":58,"z":0,"regionId":12851,"label":"1","regionY":25,"color":"#96FFFFFF"},{"regionX":57,"z":0,"regionId":12851,"label":"2","regionY":25,"color":"#96FFFFFF"},{"regionX":56,"z":0,"regionId":12851,"label":"1","regionY":26,"color":"#96FFFFFF"},{"regionX":57,"z":0,"regionId":12851,"label":"2","regionY":28,"color":"#96FFFFFF"},{"regionX":62,"z":0,"regionId":12851,"label":"2","regionY":25,"color":"#96FF0000"},{"regionX":60,"z":0,"regionId":12851,"label":"1","regionY":26,"color":"#96FF0000"},{"regionX":56,"z":0,"regionId":12851,"label":"1","regionY":22,"color":"#96FF0000"},{"regionX":54,"z":0,"regionId":12851,"label":"2","regionY":23,"color":"#96FF0000"}] |
| Tile markers guide • Data |
Every two to three attacks, Brutus will use one of two special attacks; which one he chooses initially is random, but it will alternate between the two afterward in a predictable cycle.
- Charge - Brutus will spawn orthogonally across the player before charging, followed by three ghosts that repeat the same attack in rapid succession in a clockwise order, starting with the real Brutus.
- Slam - Brutus will disappear and spawn diagonally across the player, stomping the area in front of him, followed by three ghosts that repeat the same attack in rapid succession in a clockwise order, starting with the real Brutus.
Getting hit by any of the bulls will deal 45-56 damage each, resulting in a swift death if two bulls are missed in quick succession without healing. Additionally, if the player is standing too close to an obstacle when Brutus starts a special attack, they will be pushed into open space and will be unable to run for the special attack's duration, which effectively spells instant death.
There are two possible attack rotations, of which there are four possible positions for him to initiate a special attack. This will be performed in a cyclical pattern, as seen in the following demonstrations.
-
A full cycle of the boss' first attack rotation. In this rotation, the very first special attack will be a slam attack, starting from the south-east, going clockwise.
-
A full cycle of the boss' second attack rotation. In this rotation, the very first special attack will be a charge attack, starting from the east, going clockwise.
Upon reaching 500 (66.6%) health, Demonic Brutus' special attacks will be performed quicker, giving players little time to react to the attack.
Upon reaching 250 (33.33%) health, the boss' special attacks are performed in counterclockwise pattern instead, which necessitate different tiles to stand on to dodge depending on the attack rotation it chose.
-
The boss will initiate special attacks near instantly after reaching 66.6% health.
-
The boss' special attacks will move counterclockwise after reaching 33.3% health.
Once Demonic Brutus' health reaches 0, it will exclaim and heal itself for 487 health, beginning phase 2 of the fight. The fight is almost identical to the first phase at 66.6% health (faster special attacks), so players must return to using the tiles for dodging the bulls moving clockwise and return to the counterclockwise tiles once Brutus is at 33.3% health again.
During phase 2, each time Brutus initiates a special attack, four orbs will appear above the player's head with their colour indicating the type of attack to pray against. These projectiles will land on the player whenever each bull attacks, dealing 18-20 damage; the first three projectiles are always magic-melee-ranged, with the fourth being random. These projectiles will also trigger auto-retaliate, so it's recommended to have it turned off so it doesn't cause the player to path into the special attacks.
A simple strategy to avoid the majority of damage while still keeping dodge timing using the above tiles is to keep praying melee and just tank the initial mage orb. Once you step onto the second dodge tile you can then flick the range + random prayer without having to worry about further movement commands. While this does involve you tanking a little damage (18-20), most players die during the fight when they get hit by Brutus and his ghosts while trying to focus on flicking prayers.
Equipment
Demonic Brutus is weakest to slash attacks. As such, powerful slash weapons such as the Scythe of Vitur, noxious halberd, and soulreaper axe are viable options to use alongside armour with melee strength (ex. Blood Moon, Bandos, and oathplate armour). However, as all of the boss' special attacks will always hit if not dodged, elite void armour with a void melee helm may suffice if death costs are a concern, especially when practicing.


Inventory


- Special attack weapon (voidwaker, dragon, or burning claws)
- 1 Divine super combat potion
- 2-3 Super restore
- 10 Cooked karambwan or halibut
- 10 Anglerfish, marlin, or cooked moonlight antelope
- Abyssal potato
- Cowbell amulet
- Teleport to house
| Monsters | |
|---|---|
| Unique drops | |
| Other | |


