Perfect Olm (Solo)
This copy was last processed on . The copied wiki revision is dated .
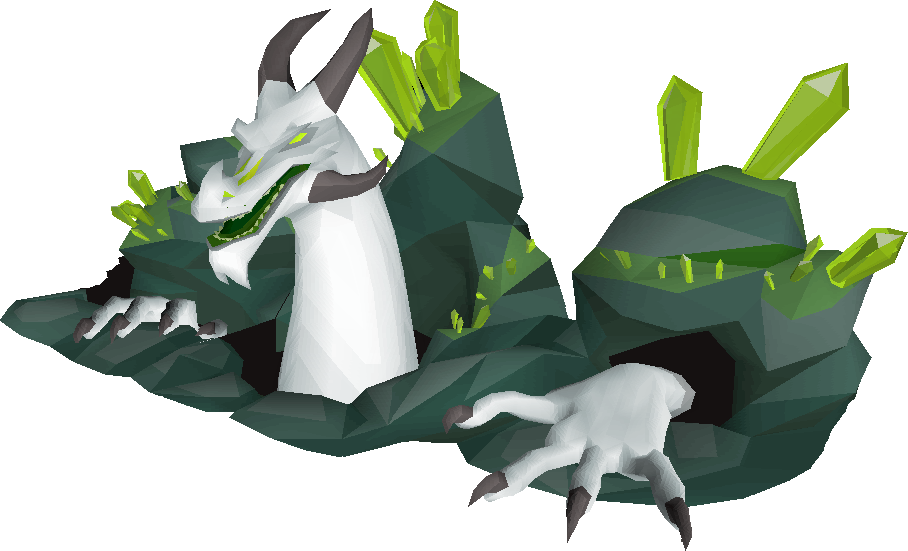
| Perfect Olm (Solo) (#317) | ||||
|---|---|---|---|---|
| Released | 21 July 2021 (Update) | |||
| Members | Yes | |||
| Description | Kill the Great Olm in a solo raid without taking damage from any of the following: Teleport portals, Fire Walls, Healing pools, Crystal Bombs, Crystal Burst or Prayer Orbs. You also cannot let his claws regenerate or take damage from the same acid pool back to back. | |||
| Tier | Master | |||
| Monster | Chambers of Xeric | |||
| Type | Perfection | |||
| League region |  Kourend✓ Kourend✓
| |||
| Advanced data | ||||
| ID | 317 | |||
Perfect Olm (Solo) is a master combat achievement which requires the player to kill the Great Olm without taking damage from his crystal burst, teleport, fire wall, healing pool, crystal bomb and prayer orb attacks. The player must also not let his hands regenerate during phase 3 and not take consecutive damage from the same acid pool.
Strategy
Olm starts off each phase beginning with two auto-attacks before performing its first special attack, Crystal Burst. The most dangerous threat for this achievement are the fire walls and teleport portals; if the player is on the Arceuus spellbook, they won't have any ideal means of dispelling the fire walls apart from carrying a water source (e.g watering cans) on them. Teleport portals can also have a range of 10 tiles from the player, which when focused on Olm may make them hard to spot in time.
In order to successfully pull off the achievement, the player must utilise the safespots as shown by the picture to the right. These spots will always force the head to turn accordingly based on its location:
- Spots 1 and 8 always force the head to turn right.
- Spots 4 and 5 always force the head to turn left.
- When running from spot 4, running to spot 2 will ensure the head turns right as long as the right hand has been damaged. If the right hand is not damaged, it will turn to the middle.
- Due to this, the player can then run from spot 2 to spot 3 to land an additional attack and force Olm's head to the middle after it turns right.
- The same also applies when running from spot 5 to 7.
- Due to this, the player can then run from spot 2 to spot 3 to land an additional attack and force Olm's head to the middle after it turns right.
- Running from spot 1 to spot 3 forces the head to turn to the middle.
- The same also applies when running from spot 8 to 6.
When Olm is forced to turn his head around to find the player, he will skip an attack in the process. However this shouldn't be much of an issue with a smooth run.
A proper 4:1 (with a 4-tick weapon) or 3:1 (with a 5-tick weapon) should avoid all attacks outside of the flame walls and acid pools for the melee hand. The magic hand can still be dealt with using normal methods. Crystal bombs should not be an issue unless one is within proximity of the running tiles. If the player wants to take no chances, the much slower 1:0 method (with any weapon) may be used, as this guarantees Olm will never be able to attack the player.
During phase 4, the teleport attack and crystal bombs are no longer used, but the flame wall and acid pools will still persist. A player can still safely attack Olm with ranged using a crossbow or twisted bow without fear of retaliation by the head. The falling crystals during this phase will not disqualify players from the achievement, though they can prove to be a problem if low on supplies.
Dying to Olm will not disqualify players from the task, as long as they died to a standard attack.
Other tasks
There are 29 Combat Achievement tasks (totalling 138 points) available for Chambers of Xeric.
| Name | Description | Type | Tier | Comp% |
|---|---|---|---|---|
| Chambers of Xeric Veteran | Complete the Chambers of Xeric 25 times. | Kill Count |  Elite (4 pts) Elite (4 pts) | 16.9% |
| Dancing with Statues | Receive kill-credit for a Stone Guardian without taking damage from falling rocks. | Perfection | Elite (4 pts) | 20.1% |
| Blizzard Dodger | Receive kill-credit for the Ice Demon without activating the Protect from Range prayer. | Restriction | Elite (4 pts) | 14% |
| Together We'll Fall | Kill the Vanguards within 10 seconds of the first one dying. | Mechanical | Elite (4 pts) | 13.7% |
| Perfectly Balanced | Kill the Vanguards without them resetting their health. | Mechanical | Elite (4 pts) | 19.1% |
| Kill It with Fire | Finish off the Ice Demon with a fire spell. | Restriction | Elite (4 pts) | 15.2% |
| Mutta-diet | Kill the Muttadile without letting her or her baby recover hitpoints from the meat tree. | Mechanical | Elite (4 pts) | 25.3% |
| Cryo No More | Receive kill-credit for the Ice Demon without taking any damage. | Perfection | Elite (4 pts) | 16.7% |
| Shayzien Specialist | Receive kill-credit for a Lizardman Shaman without taking damage from any shamans in the room. | Perfection | Elite (4 pts) | 15.2% |
| Undying Raid Team | Complete a Chambers of Xeric raid without anyone dying. | Perfection | Elite (4 pts) | 22.2% |
| Redemption Enthusiast | Kill the Abyssal Portal without forcing Vespula to land. | Mechanical | Elite (4 pts) | 16.6% |
| Chambers of Xeric (Solo) Speed-Chaser | Complete a Chambers of Xeric (Solo) in less than 21 minutes. | Speed |  Master (5 pts) Master (5 pts) | 2.5% |
| Stop Drop and Roll | Kill Vasa Nistirio before he performs his teleport attack for the second time. | Mechanical | Master (5 pts) | 16.3% |
| No Time for Death | Clear the Tightrope room without Killing any Deathly Mages or Deathly Rangers. | Mechanical | Master (5 pts) | 10.9% |
| Undying Raider | Complete a Chambers of Xeric solo raid without dying. | Perfection | Master (5 pts) | 5.9% |
| Playing with Lasers | Clear the Crystal Crabs room without wasting an orb after the first crystal has been activated. | Perfection | Master (5 pts) | 20.7% |
| Chambers of Xeric (5-Scale) Speed-Chaser | Complete a Chambers of Xeric (5-scale) in less than 15 minutes. | Speed | Master (5 pts) | 2.2% |
| Perfect Olm (Trio) | Kill the Great Olm in a trio raid without any team member taking damage from any of the following: Teleport portals, Fire Walls, Healing pools, Crystal Bombs, Crystal Burst or Prayer Orbs. You also cannot let his claws regenerate or take damage from the same acid pool back to back. | Perfection | Master (5 pts) | 2.4% |
| Chambers of Xeric (Trio) Speed-Chaser | Complete a Chambers of Xeric (Trio) in less than 16 minutes and 30 seconds. | Speed | Master (5 pts) | 2.9% |
| A Not So Special Lizard | Kill the Great Olm in a solo raid without letting him use any of the following special attacks in his second to last phase: Crystal Burst, Lightning Walls, Teleportation Portals or left-hand autohealing. | Mechanical | Master (5 pts) | 3.9% |
| Chambers of Xeric Master | Complete the Chambers of Xeric 75 times. | Kill Count | Master (5 pts) | 12.4% |
| Perfect Olm (Solo) | Kill the Great Olm in a solo raid without taking damage from any of the following: Teleport portals, Fire Walls, Healing pools, Crystal Bombs, Crystal Burst or Prayer Orbs. You also cannot let his claws regenerate or take damage from the same acid pool back to back. | Perfection | Master (5 pts) | 3.7% |
| Blind Spot | Kill Tekton without taking any damage. | Perfection | Master (5 pts) | 13.4% |
| Putting It Olm on the Line | Complete a Chambers of Xeric solo raid with more than 40,000 points. | Mechanical | Master (5 pts) | 3.2% |
| Anvil No More | Kill Tekton before he returns to his anvil for a second time after the fight begins. | Mechanical | Master (5 pts) | 23.5% |
| Chambers of Xeric (Trio) Speed-Runner | Complete a Chambers of Xeric (Trio) in less than 14 minutes and 30 seconds. | Speed |  Grandmaster (6 pts) Grandmaster (6 pts) | 2.4% |
| Chambers of Xeric (Solo) Speed-Runner | Complete a Chambers of Xeric (Solo) in less than 17 minutes. | Speed | Grandmaster (6 pts) | 1.5% |
| Chambers of Xeric (5-Scale) Speed-Runner | Complete a Chambers of Xeric (5-scale) in less than 12 minutes and 30 seconds. | Speed | Grandmaster (6 pts) | 1.8% |
| Chambers of Xeric Grandmaster | Complete the Chambers of Xeric 150 times. | Kill Count | Grandmaster (6 pts) | 9.2% |
Tiles
[{"regionId":12889,"regionX":28,"regionY":50,"z":0,"color":"#FFFFFF00","label":"4"},{"regionId":12889,"regionX":28,"regionY":46,"z":0,"color":"#FFFFFF00","label":"3"},{"regionId":12889,"regionX":28,"regionY":43,"z":0,"color":"#FFFFFF00","label":"2"},{"regionId":12889,"regionX":28,"regionY":38,"z":0,"color":"#FFFFFF00","label":"1"},{"regionId":12889,"regionX":37,"regionY":38,"z":0,"color":"#FFFFFF00","label":"5"},{"regionId":12889,"regionX":37,"regionY":42,"z":0,"color":"#FFFFFF00","label":"6"},{"regionId":12889,"regionX":37,"regionY":45,"z":0,"color":"#FFFFFF00","label":"7"},{"regionId":12889,"regionX":37,"regionY":50,"z":0,"color":"#FFFFFF00","label":"8"},{"regionId":13139,"regionX":41,"regionY":41,"z":2,"color":"#FFFFFF00"}]
| |||||||||||
| Tiers | |||||||||||
| Rewards |
| ||||||||||


