Wall safe (lobby)
This copy was last processed on . The copied wiki revision is dated .
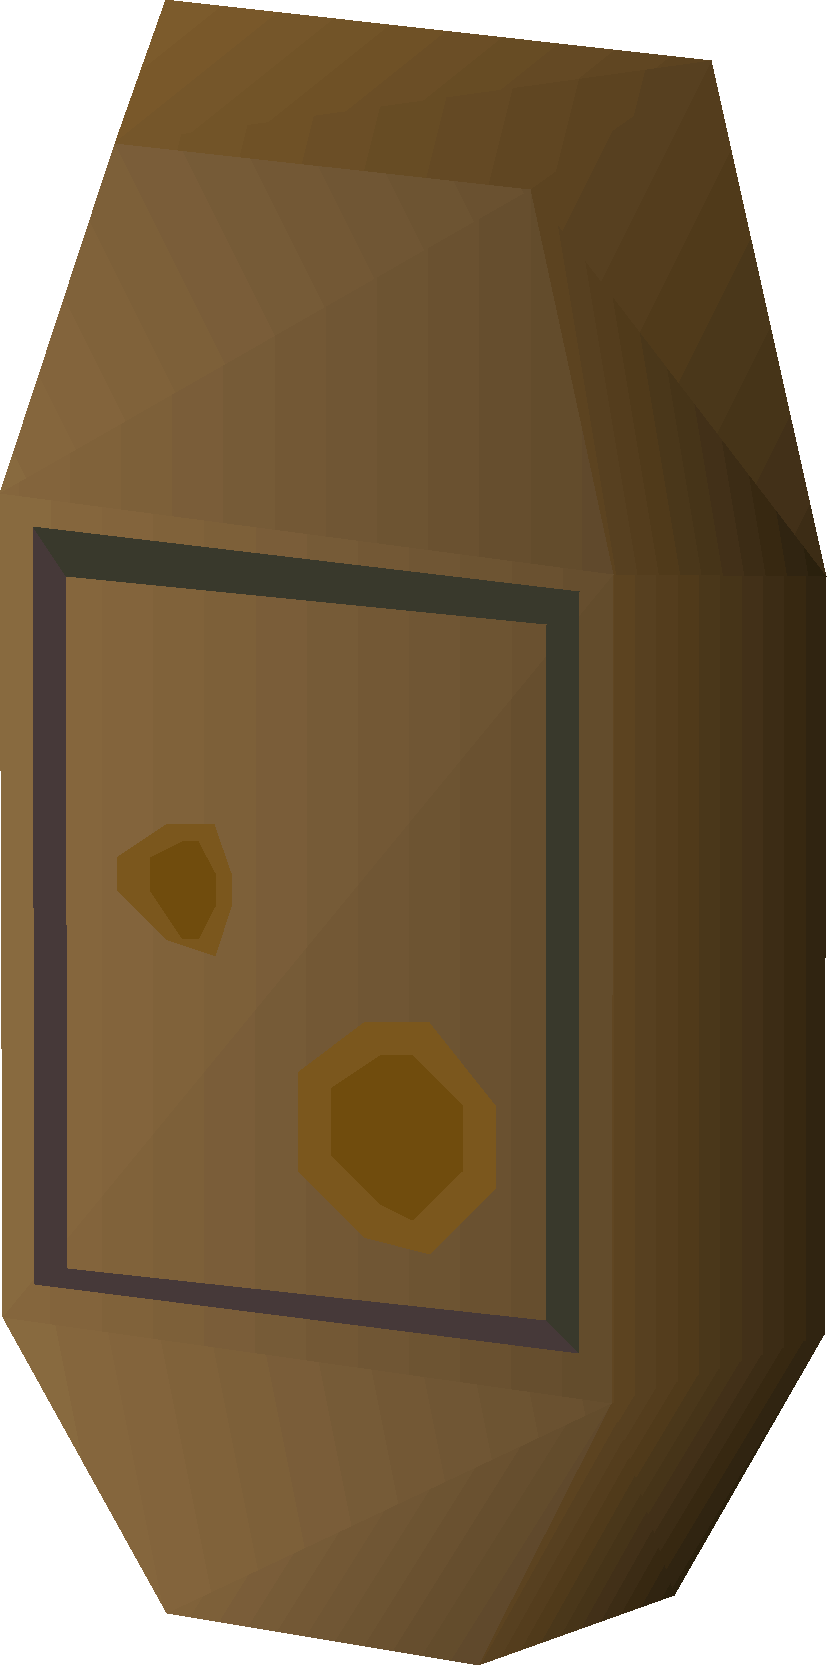
| Wall safe | |||||||||||||||||||
|---|---|---|---|---|---|---|---|---|---|---|---|---|---|---|---|---|---|---|---|
| Released | 22 June 2005 (Update) | ||||||||||||||||||
| Members | Yes | ||||||||||||||||||
| Quest | No | ||||||||||||||||||
| Location | Rogues' Den | ||||||||||||||||||
| League region |  Asgarnia✓ Asgarnia✓ | ||||||||||||||||||
| Options | Crack | ||||||||||||||||||
| Examine | I wonder what's inside. | ||||||||||||||||||
| Map | |||||||||||||||||||
| Advanced data | |||||||||||||||||||
| Object ID | 7236 | ||||||||||||||||||
| Link | MOID | ||||||||||||||||||
Four wall safes are found in the lobby of the Rogues' Den, which can be cracked with 50 Thieving. Successfully cracking a safe rewards 70 Thieving experience and loot in the form of coins or uncut gems. Failure to crack a safe can trigger a trap, dealing between 2 and 6 damage.[1]
The chance of getting loot is increased if the player has a stethoscope in their inventory, which can be purchased from Martin Thwait nearby. Accesssing his shop requires level 50 Agility. Note that you do not need to "Use" the stethoscope on the safes, it just has to be in your inventory.[2]
Failing to crack the safe will spawn a floor trap under the player with a right-click "Search" option. However, it is best to ignore the traps entirely, as searching them will lower the player's Thieving level by 1 if selected, and does not appear to significantly affect the player's chance of successfully cracking the safe. Considering the floor traps are identical to the ones in the maze, it is possible this is a functionality unintentionally left-over from the minigame.
Cracking a wall safe is a required task for the Falador Hard Diary.
Thieving info
| Wall safe | |||||||||
|---|---|---|---|---|---|---|---|---|---|
| Level required |  50 50 | ||||||||
| Thieving XP | 70 xp | ||||||||
| Type | Chest | ||||||||
| Tool | Stethoscope | ||||||||
Success chance
The chance of successfully opening a wall safe is 33.2% at level 50, scaling up to a 62.9% chance at level 99. Carrying a stethoscope increases the rate of success to 41% at level 50, and up to 75.4% at level 99.[1]
{"type":"scatter","options":{"tooltips":{"intersect":false,"format":"skillingSuccess"},"datasetsPerGroup":3,"aspectRatio":1.35,"title":{"display":true,"font":{"size":18},"text":"Wall safe thieving chance","position":"top"},"scales":{"y":{"ticks":{"stepSize":0.1,"format":"percent"},"scaleLabel":{"display":true,"labelString":"Success rate"}},"x":{"ticks":{"stepSize":1},"scaleLabel":{"display":true,"labelString":"Level"}}},"maintainAspectRatio":false,"fill":false},"minWidth":"300px","resizable":true,"width":"min(540px, 100vw - 32px)","isChartObj":true,"height":"400px","isFinished":true,"minHeight":"300px","data":{"datasets":[{"fill":false,"borderCapStyle":"round","label":"Normal ","showLine":true,"data":[{"y":0.33203125,"x":50}],"pointStyleImg":"Thieving icon.png","hoverBackgroundColor":"rgba(151,198,222,0.5)","backgroundColor":"rgba(166,206,227,0.3)","borderDash":[5,5],"borderColor":"rgba(166,206,227,1)","hoverBorderColor":"rgba(151,198,222,1)","pointRadius":0,"clip":5,"baseColor":"black"},{"pointRadius":0,"label":"Normal ","showLine":true,"data":[{"y":0.33203125,"x":50},{"y":0.33984375,"x":51},{"y":0.34375,"x":52},{"y":0.3515625,"x":53},{"y":0.35546875,"x":54},{"y":0.36328125,"x":55},{"y":0.3671875,"x":56},{"y":0.375,"x":57},{"y":0.37890625,"x":58},{"y":0.38671875,"x":59},{"y":0.39453125,"x":60},{"y":0.3984375,"x":61},{"y":0.40625,"x":62},{"y":0.41015625,"x":63},{"y":0.41796875,"x":64},{"y":0.421875,"x":65},{"y":0.4296875,"x":66},{"y":0.43359375,"x":67},{"y":0.44140625,"x":68},{"y":0.4453125,"x":69},{"y":0.453125,"x":70},{"y":0.4609375,"x":71},{"y":0.46484375,"x":72},{"y":0.47265625,"x":73},{"y":0.4765625,"x":74},{"y":0.484375,"x":75},{"y":0.48828125,"x":76},{"y":0.49609375,"x":77},{"y":0.5,"x":78},{"y":0.5078125,"x":79},{"y":0.515625,"x":80},{"y":0.51953125,"x":81},{"y":0.52734375,"x":82},{"y":0.53125,"x":83},{"y":0.5390625,"x":84},{"y":0.54296875,"x":85},{"y":0.55078125,"x":86},{"y":0.5546875,"x":87},{"y":0.5625,"x":88},{"y":0.56640625,"x":89},{"y":0.57421875,"x":90},{"y":0.58203125,"x":91},{"y":0.5859375,"x":92},{"y":0.59375,"x":93},{"y":0.59765625,"x":94},{"y":0.60546875,"x":95},{"y":0.609375,"x":96},{"y":0.6171875,"x":97},{"y":0.62109375,"x":98},{"y":0.62890625,"x":99}],"fill":false,"hoverBackgroundColor":"rgba(29,114,171,0.5)","backgroundColor":"rgba(31,120,180,0.3)","borderDash":[],"borderColor":"rgba(31,120,180,1)","hoverBorderColor":"rgba(29,114,171,1)","borderCapStyle":"round","clip":5,"baseColor":"black"},{"borderCapStyle":"round","hoverBorderColor":"rgba(169,219,124,1)","showLine":true,"data":[{"y":0.62890625,"x":99}],"fill":false,"hoverBackgroundColor":"rgba(169,219,124,0.5)","borderDash":[],"borderColor":"rgba(178,223,138,1)","backgroundColor":"rgba(178,223,138,0.3)","pointRadius":5,"clip":5,"baseColor":"black"},{"fill":false,"borderCapStyle":"round","label":"Stethoscope ","showLine":true,"data":[{"y":0.41015625,"x":50}],"pointStyleImg":"Stethoscope.png","hoverBackgroundColor":"rgba(48,152,42,0.5)","backgroundColor":"rgba(51,160,44,0.3)","borderDash":[5,5],"borderColor":"rgba(51,160,44,1)","hoverBorderColor":"rgba(48,152,42,1)","pointRadius":0,"clip":5,"baseColor":"gray"},{"pointRadius":0,"label":"Stethoscope ","showLine":true,"data":[{"y":0.41015625,"x":50},{"y":0.41796875,"x":51},{"y":0.42578125,"x":52},{"y":0.4296875,"x":53},{"y":0.4375,"x":54},{"y":0.4453125,"x":55},{"y":0.453125,"x":56},{"y":0.4609375,"x":57},{"y":0.46484375,"x":58},{"y":0.47265625,"x":59},{"y":0.48046875,"x":60},{"y":0.48828125,"x":61},{"y":0.49609375,"x":62},{"y":0.5,"x":63},{"y":0.5078125,"x":64},{"y":0.515625,"x":65},{"y":0.5234375,"x":66},{"y":0.53125,"x":67},{"y":0.53515625,"x":68},{"y":0.54296875,"x":69},{"y":0.55078125,"x":70},{"y":0.55859375,"x":71},{"y":0.56640625,"x":72},{"y":0.5703125,"x":73},{"y":0.578125,"x":74},{"y":0.5859375,"x":75},{"y":0.59375,"x":76},{"y":0.59765625,"x":77},{"y":0.60546875,"x":78},{"y":0.61328125,"x":79},{"y":0.62109375,"x":80},{"y":0.62890625,"x":81},{"y":0.6328125,"x":82},{"y":0.640625,"x":83},{"y":0.6484375,"x":84},{"y":0.65625,"x":85},{"y":0.6640625,"x":86},{"y":0.66796875,"x":87},{"y":0.67578125,"x":88},{"y":0.68359375,"x":89},{"y":0.69140625,"x":90},{"y":0.69921875,"x":91},{"y":0.703125,"x":92},{"y":0.7109375,"x":93},{"y":0.71875,"x":94},{"y":0.7265625,"x":95},{"y":0.734375,"x":96},{"y":0.73828125,"x":97},{"y":0.74609375,"x":98},{"y":0.75390625,"x":99}],"fill":false,"hoverBackgroundColor":"rgba(250,135,134,0.5)","backgroundColor":"rgba(251,154,153,0.3)","borderDash":[],"borderColor":"rgba(251,154,153,1)","hoverBorderColor":"rgba(250,135,134,1)","borderCapStyle":"round","clip":5,"baseColor":"gray"},{"borderCapStyle":"round","hoverBorderColor":"rgba(216,25,27,1)","showLine":true,"data":[{"y":0.75390625,"x":99}],"fill":false,"hoverBackgroundColor":"rgba(216,25,27,0.5)","borderDash":[],"borderColor":"rgba(227,26,28,1)","backgroundColor":"rgba(227,26,28,0.3)","pointRadius":5,"clip":5,"baseColor":"gray"}]}}Drops
Drop rates are estimated based on 3,230 samples from the Drop Rate Project, unless otherwise cited.
The average Wall safe (lobby) crack is worth 124.92.
| Item | Quantity | Rarity | Price | High Alch | |
|---|---|---|---|---|---|
 | Coins | 10 | 25/128 | 10 | 10 |
| Coins | 20 | 56/128 | 20 | 20 |
 | Coins | 40 | 21/128 | 40 | 40 |
 | Uncut sapphire | 1 | 12/128 | 228 | 15 |
 | Uncut emerald | 1 | 9/128 | 473 | 30 |
 | Uncut ruby | 1 | 4/128 | 1,087 | 60 |
 | Uncut diamond | 1 | 1/128 | 2,439 | 120 |
It should be noted the success rates shown in the above graph represent the chance of successfully cracking the safe on the first attempt (roughly 2 seconds after clicking the safe). Overall success rates will be higher, as the player will automatically make another attempt to crack the safe every 4 ticks (2.4 seconds) until they either crack the safe or trigger a trap. Altogether, cracking the safe or triggering a trap can take anywhere from 2 seconds to upwards of 18 seconds, with a success rate estimated between 49% at level 50 and 77% at level 99 (or 58% to 86% using a stethoscope).
Strategy
It is recommended to bring some cheap food, e.g. jug of wine or cake to heal the damage taken from failed attempt. A bank is located nearby, as well as an everlasting fire, so the player can bring raw food and cook it or buy cooked food from other players who are training Cooking at this location. Players may also want to consider wearing the regen bracelet to lengthen their stay at the safes, or a Hitpoints cape if available. Rapid Heal can also be used to the same effect, in which case equipment with a high Prayer bonus is recommended.
As uncut gems are rewarded so frequently, it's a good idea to bring along a gem bag to cut down on bank trips.
Without using tick manipulation, the safe can theoretically be looted every 8 ticks, granting up to 52,500 experience per hour, assuming no failures; realistically it is usually significantly less, around 30-40k xp per hour.
Changes
| Date | Changes |
|---|---|
| 15 October 2015 (Update) |
The Rogues' Den wall safes have been added to the Thieving skill guide. |
References
| NPCs | |||||
|---|---|---|---|---|---|
| Items | |||||
| Rewards |
| ||||
| Scenery |
| ||||
| Banks | |||||
| Shops | |||||
| Music | |||||


.png)